On Thursday 22nd February 2018 I received a message on Facebook from a really nice guy, a photographer based in Valencia called Nacho Almarche. He was asking me how I achieve my B&W look and sent me one of his photos so I could see what he would have to change to achieve the same look.
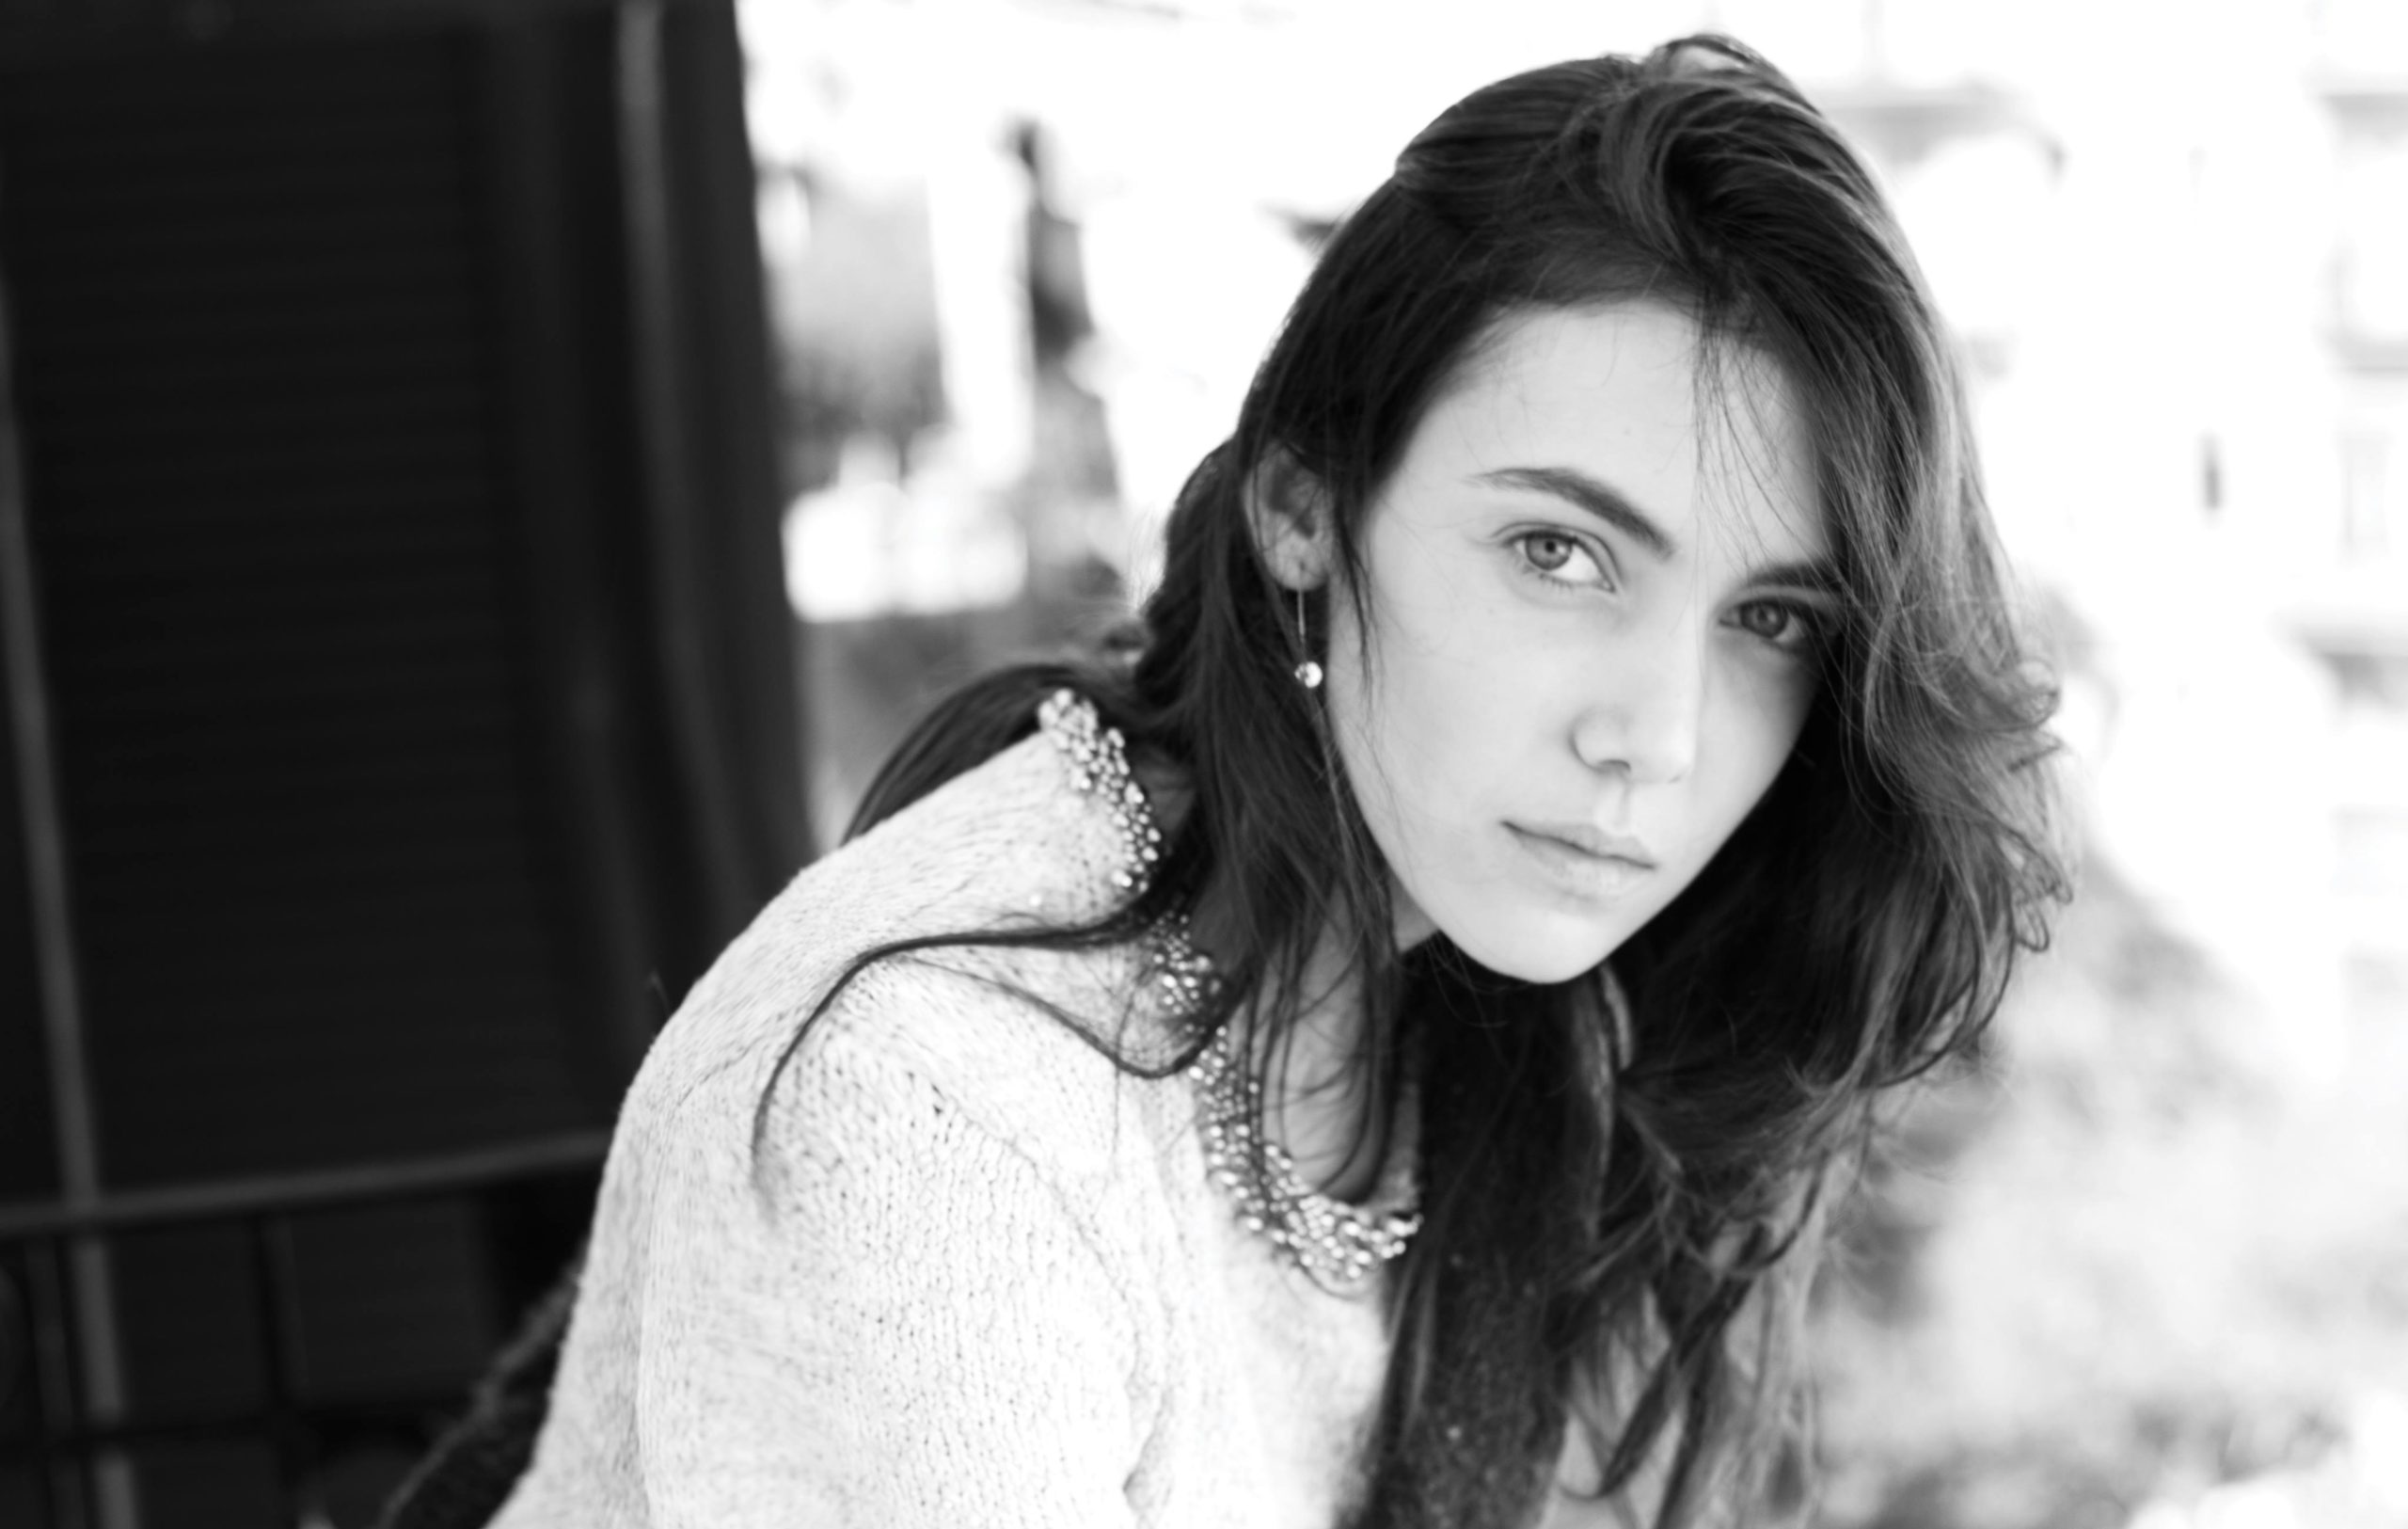
At first I thought about telling him he was blind as he kind of had me in the same ballpark as Peter Coulson. Here is his message and the photo he sent (model in Nacho’s photos is Alejandra Monzo):
HEY BRUNO, I’M TRYING TO ACHIEVE THE QUALITY IN BLACK AND WHITE YOU HAVE, PLEASE GIVE ME SOME ADVICE. I’VE CHECK PETER COULSON’S TUTORIAL BUT I DON’T GET THE LEVEL YOU OR PETER HAS ON HIS INSTAGRARM. THIS IS AN EXAMPLE OF WHAT I’M DOING
So I went about explaining I just play with my settings until I’m happy. But the main thing is when I shoot my Black & White images, I already know they are going to be Black & White. If I’m shooting tethered in the studio I set everything up after taking a test shot and all the next images will be already set. If I’m not tethering, I will change my camera to B&W picture style so I see in B&W (I shoot with a mirrorless camera so my viewfinder will show me the final image before I hit the shutter).
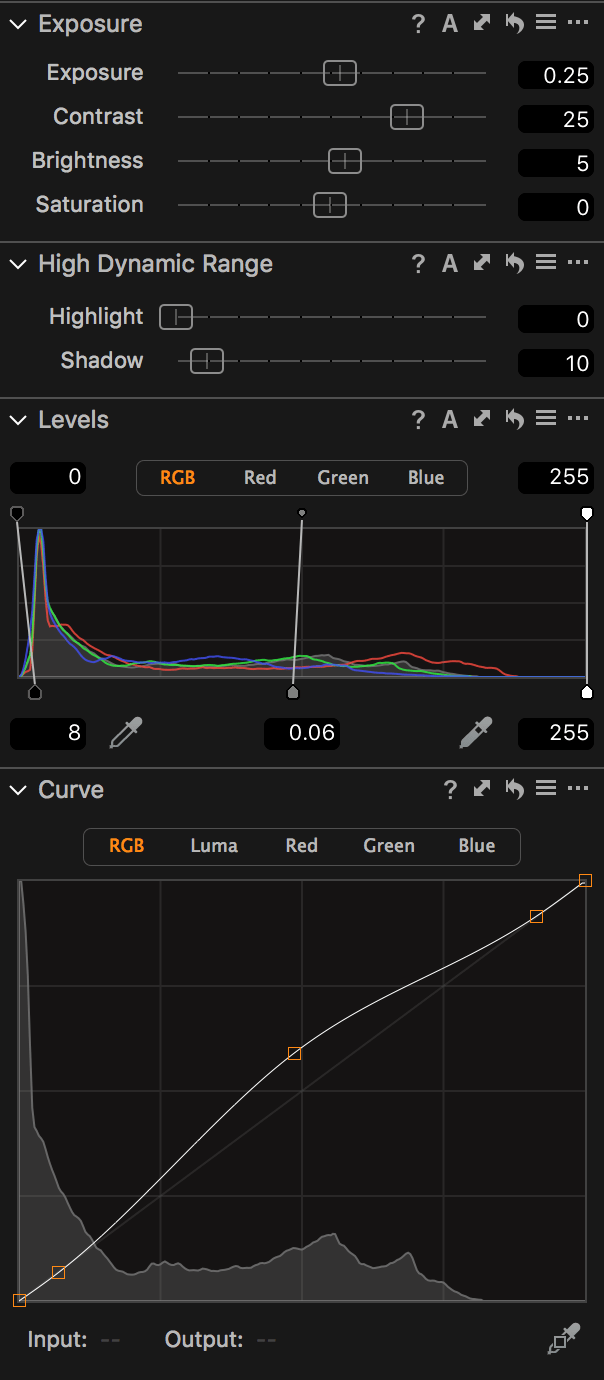
Basically what I do in Capture One Pro is to play with Contrast, Brightness, Levels and Curves, after ticking the Black & White box of course. Some times I will change Levels and Curves for the Red and Green channels as well, but not that often.
So I also told him that when shooting already thinking in Black & White, there are a few things to consider before taking the shot: is this going to be high contrast or low contrast? If I’m going to a high contrast image I usually try to make sure my model’s skin is the brightest part of the image. If I can’t do that and the background, for example, is brighter, I will go for a low contrast image so the background doesn’t pull the viewer’s eyes away from my model.
Also, his model had bags under her eyes so he could either get her to chin up (depending on the light source) or use a reflector under her face to fill that up.
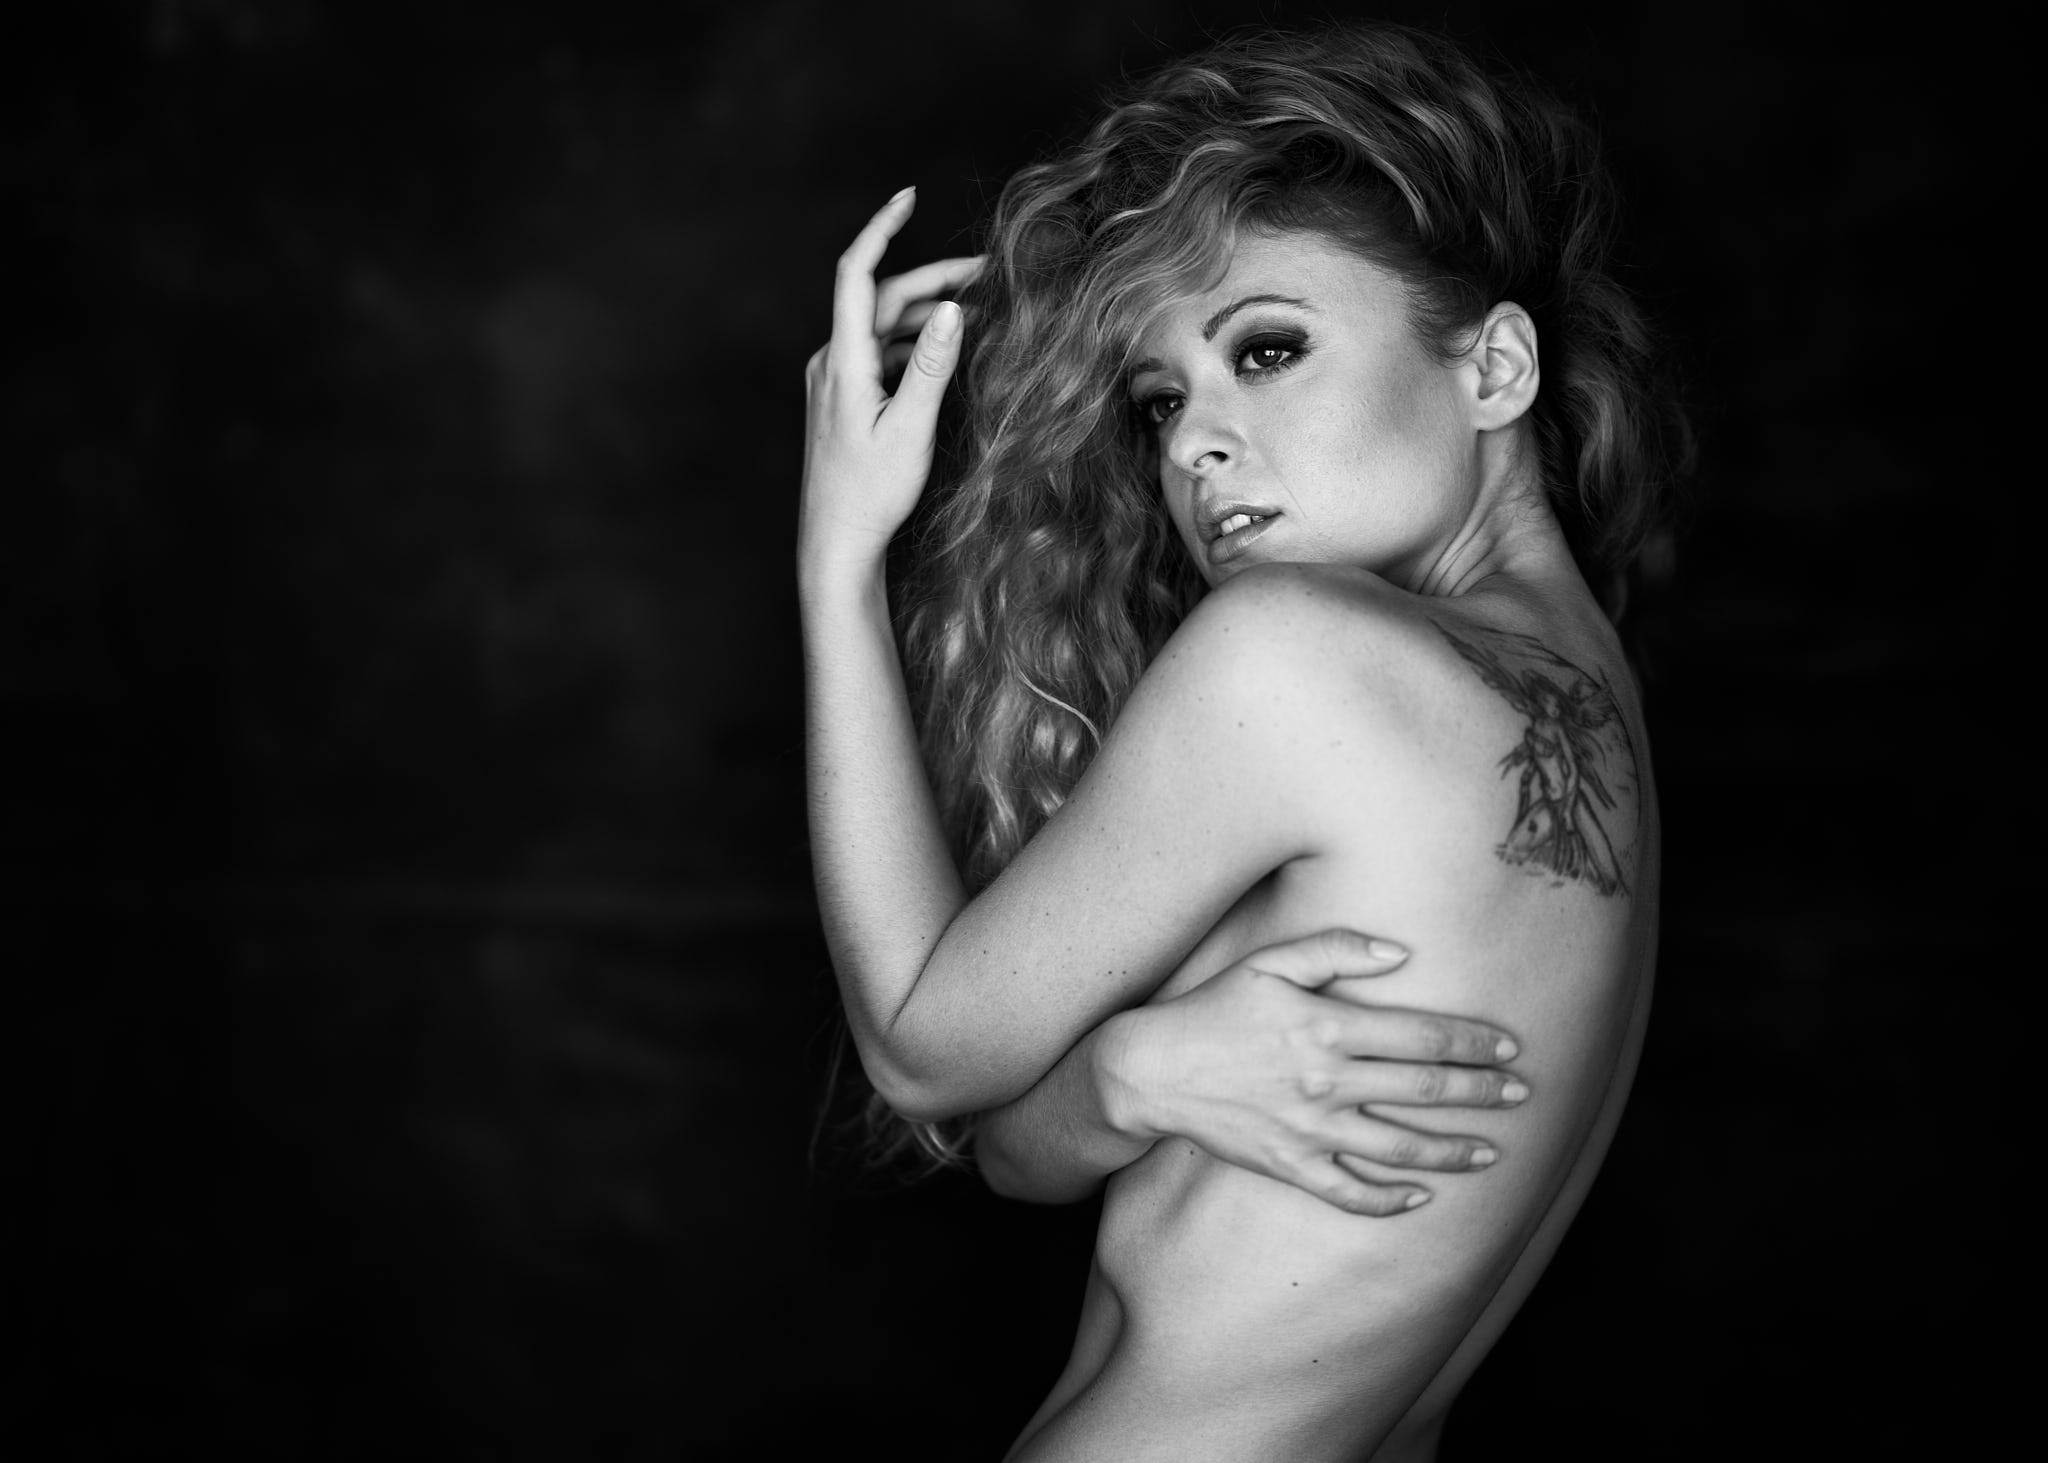
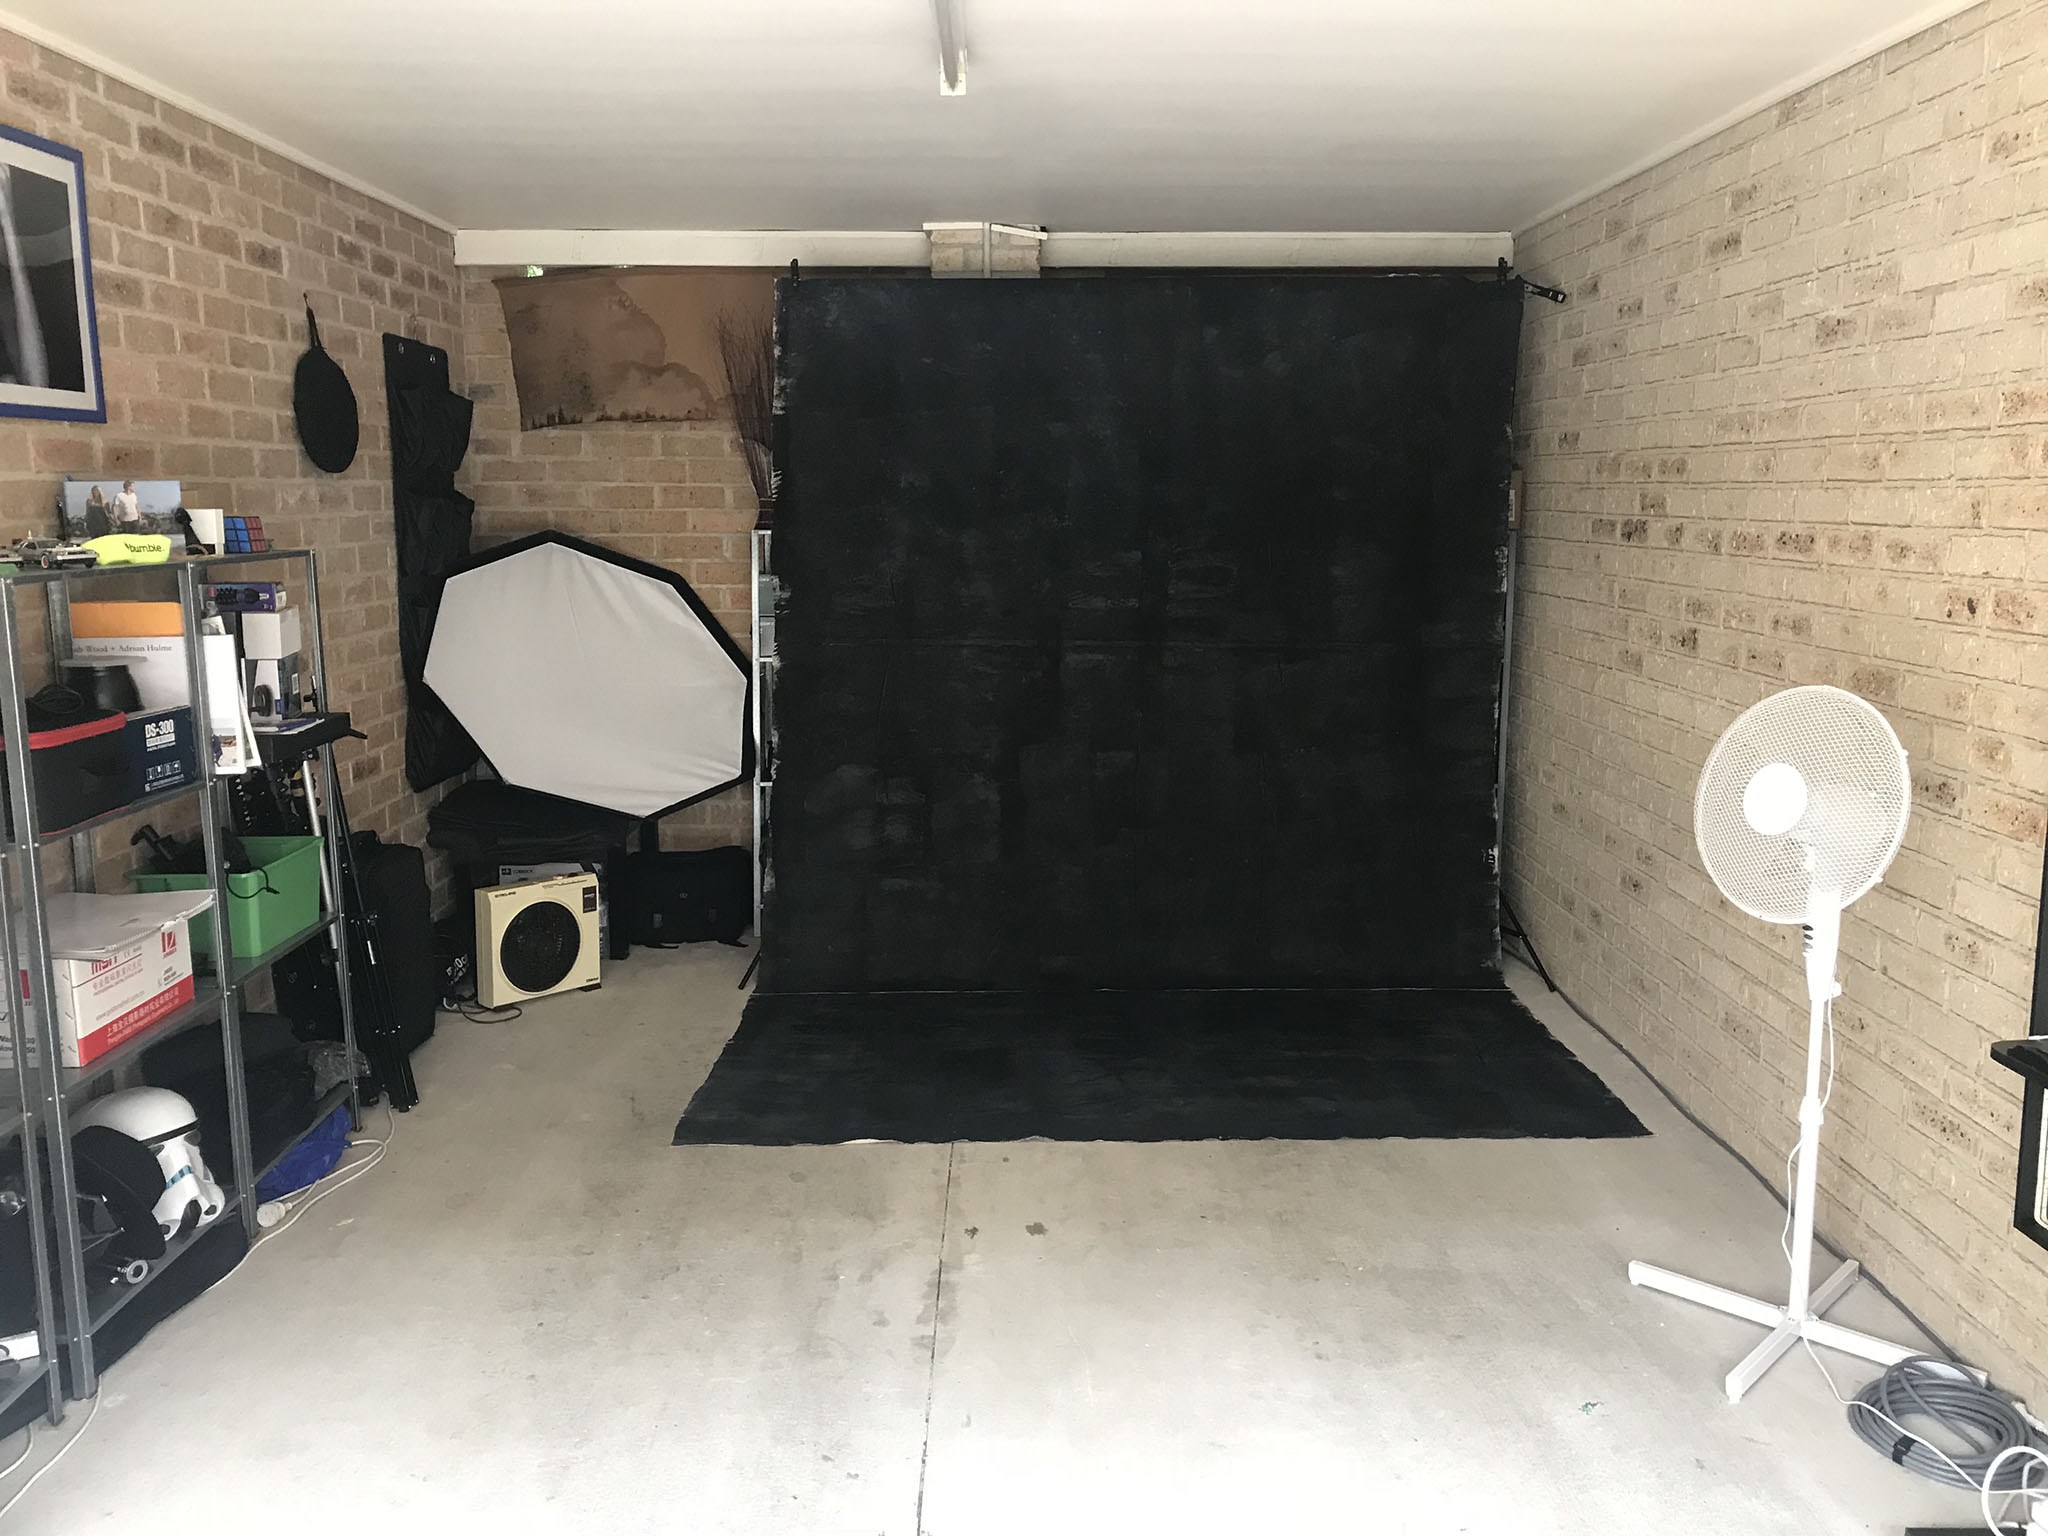
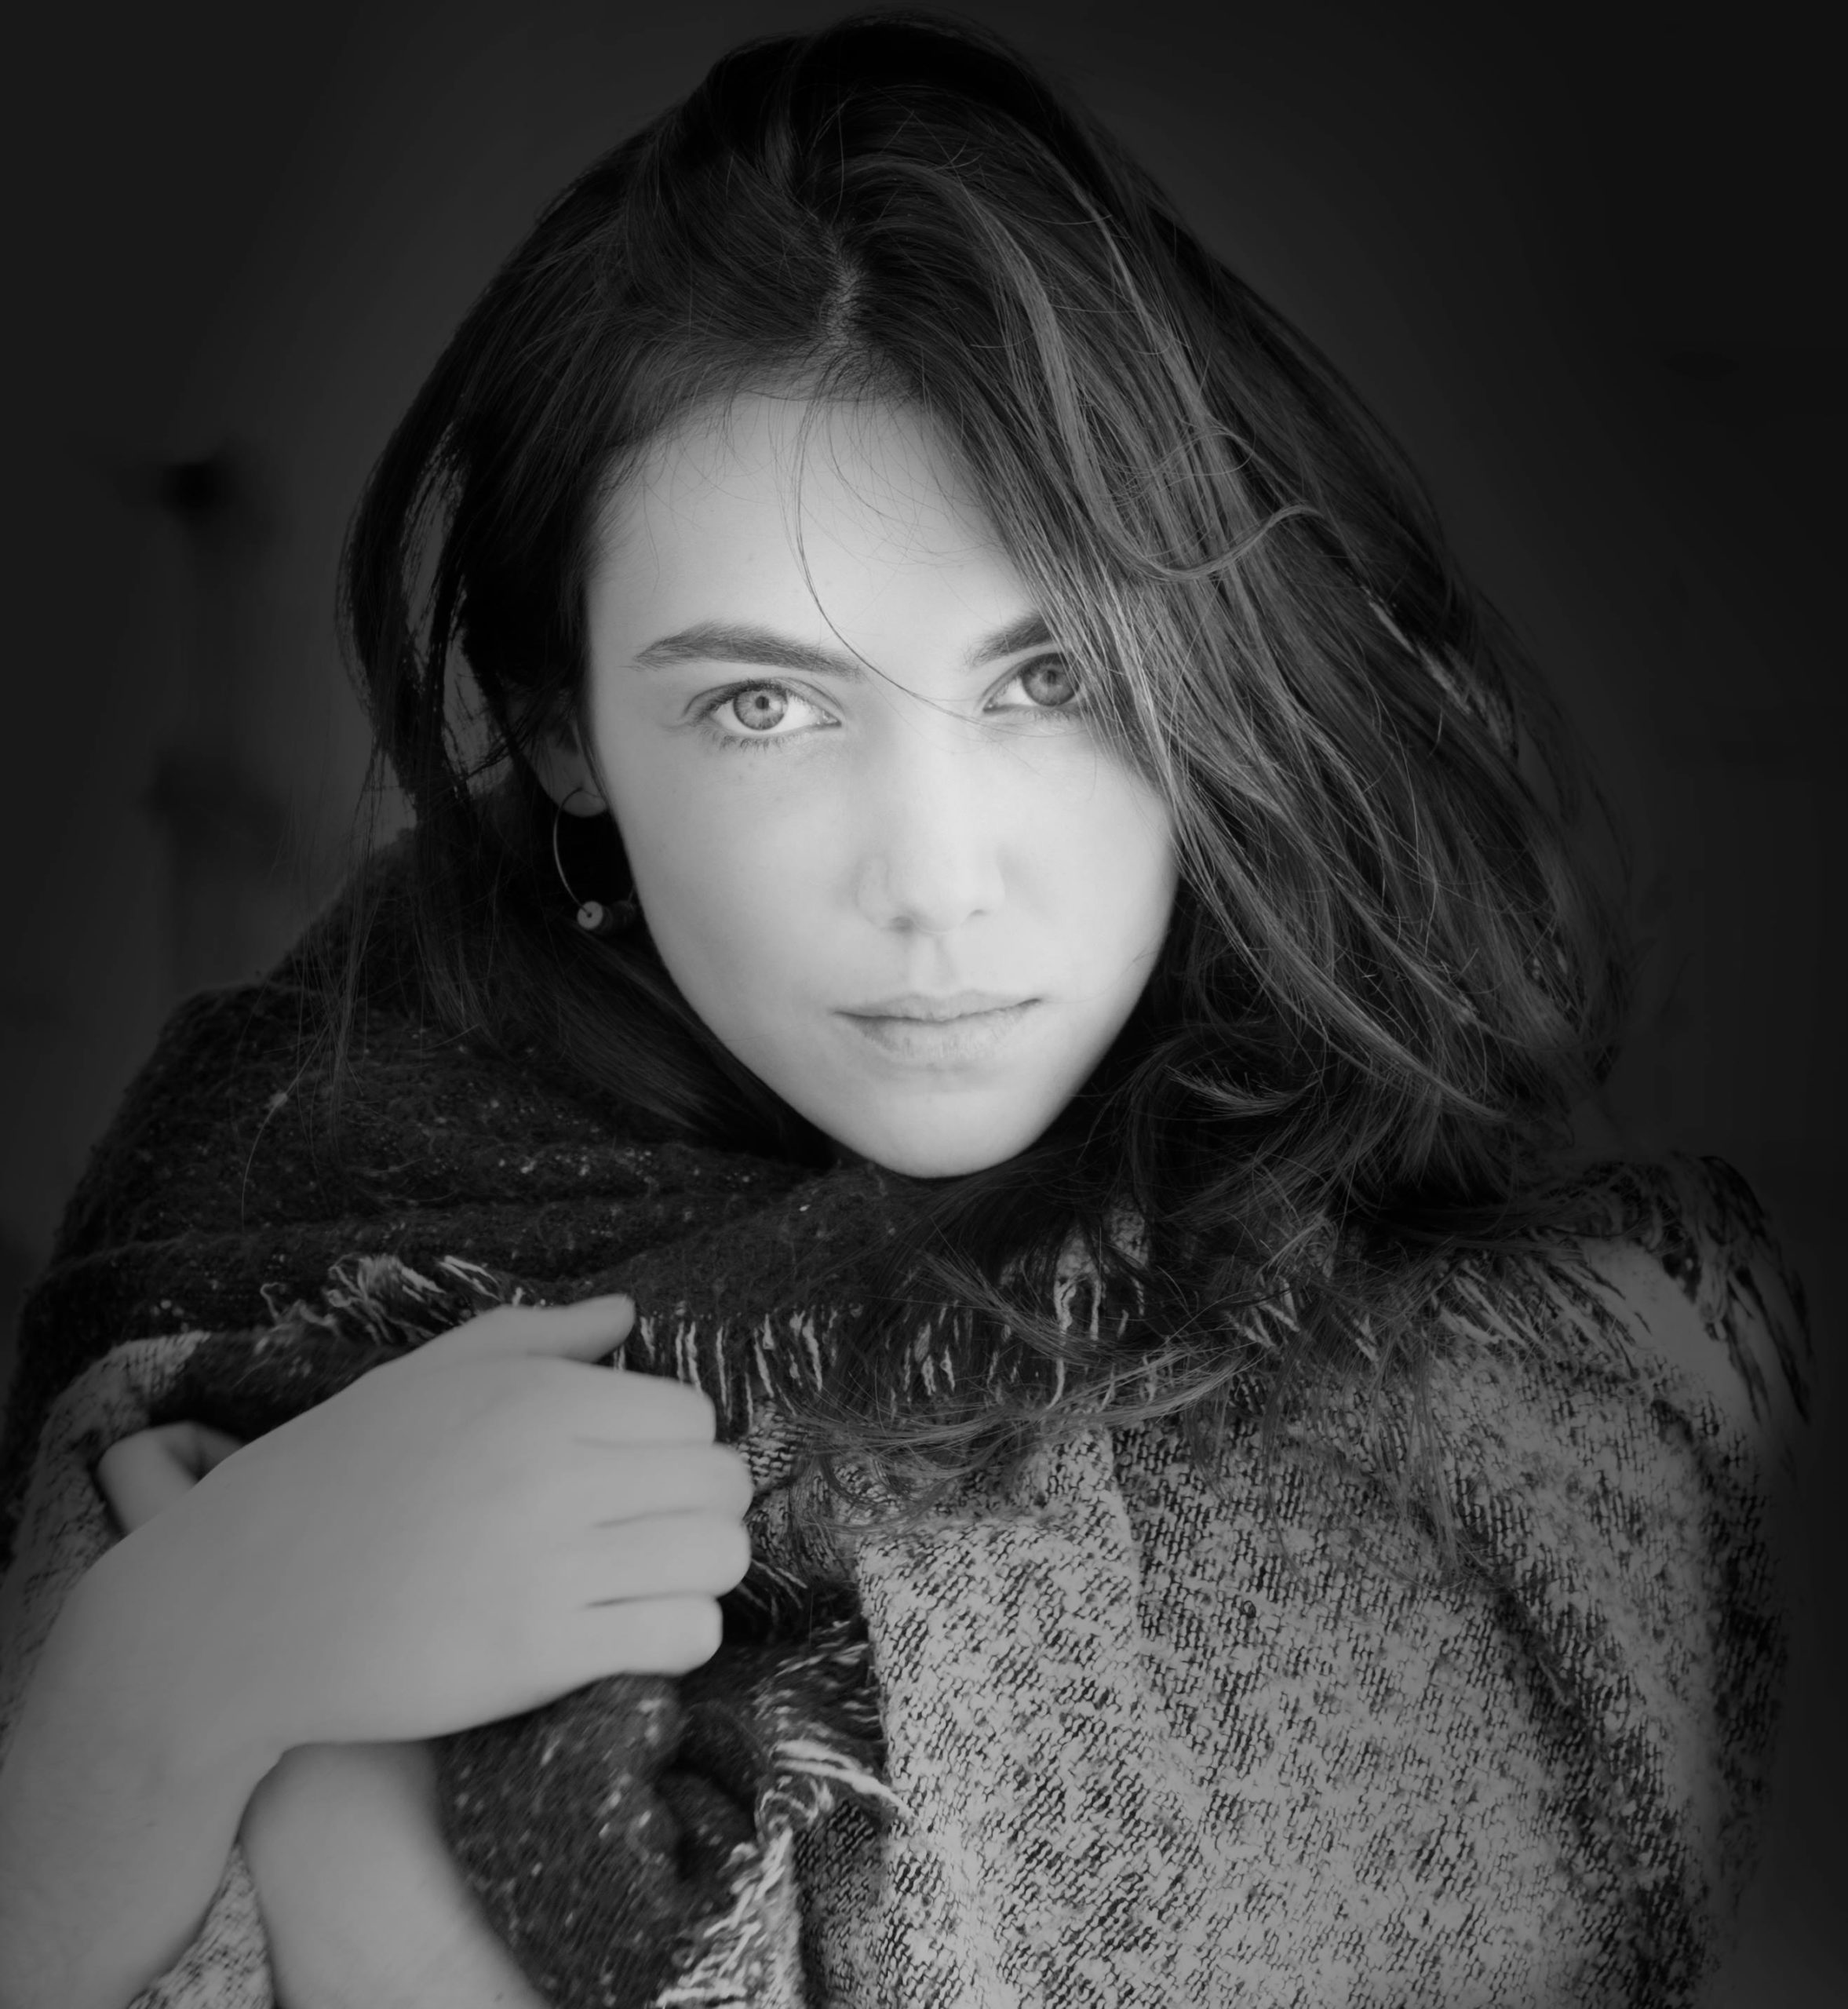
The next three images were taken in my studio using natural light. My studio is just a garage turned into studio and the whole garage door is my light source. The fourth image is the backdrop I made, which is very dark (please note for the first photo, of Natalie, I’m using the back side of the backdrop, which is not THAT dark).
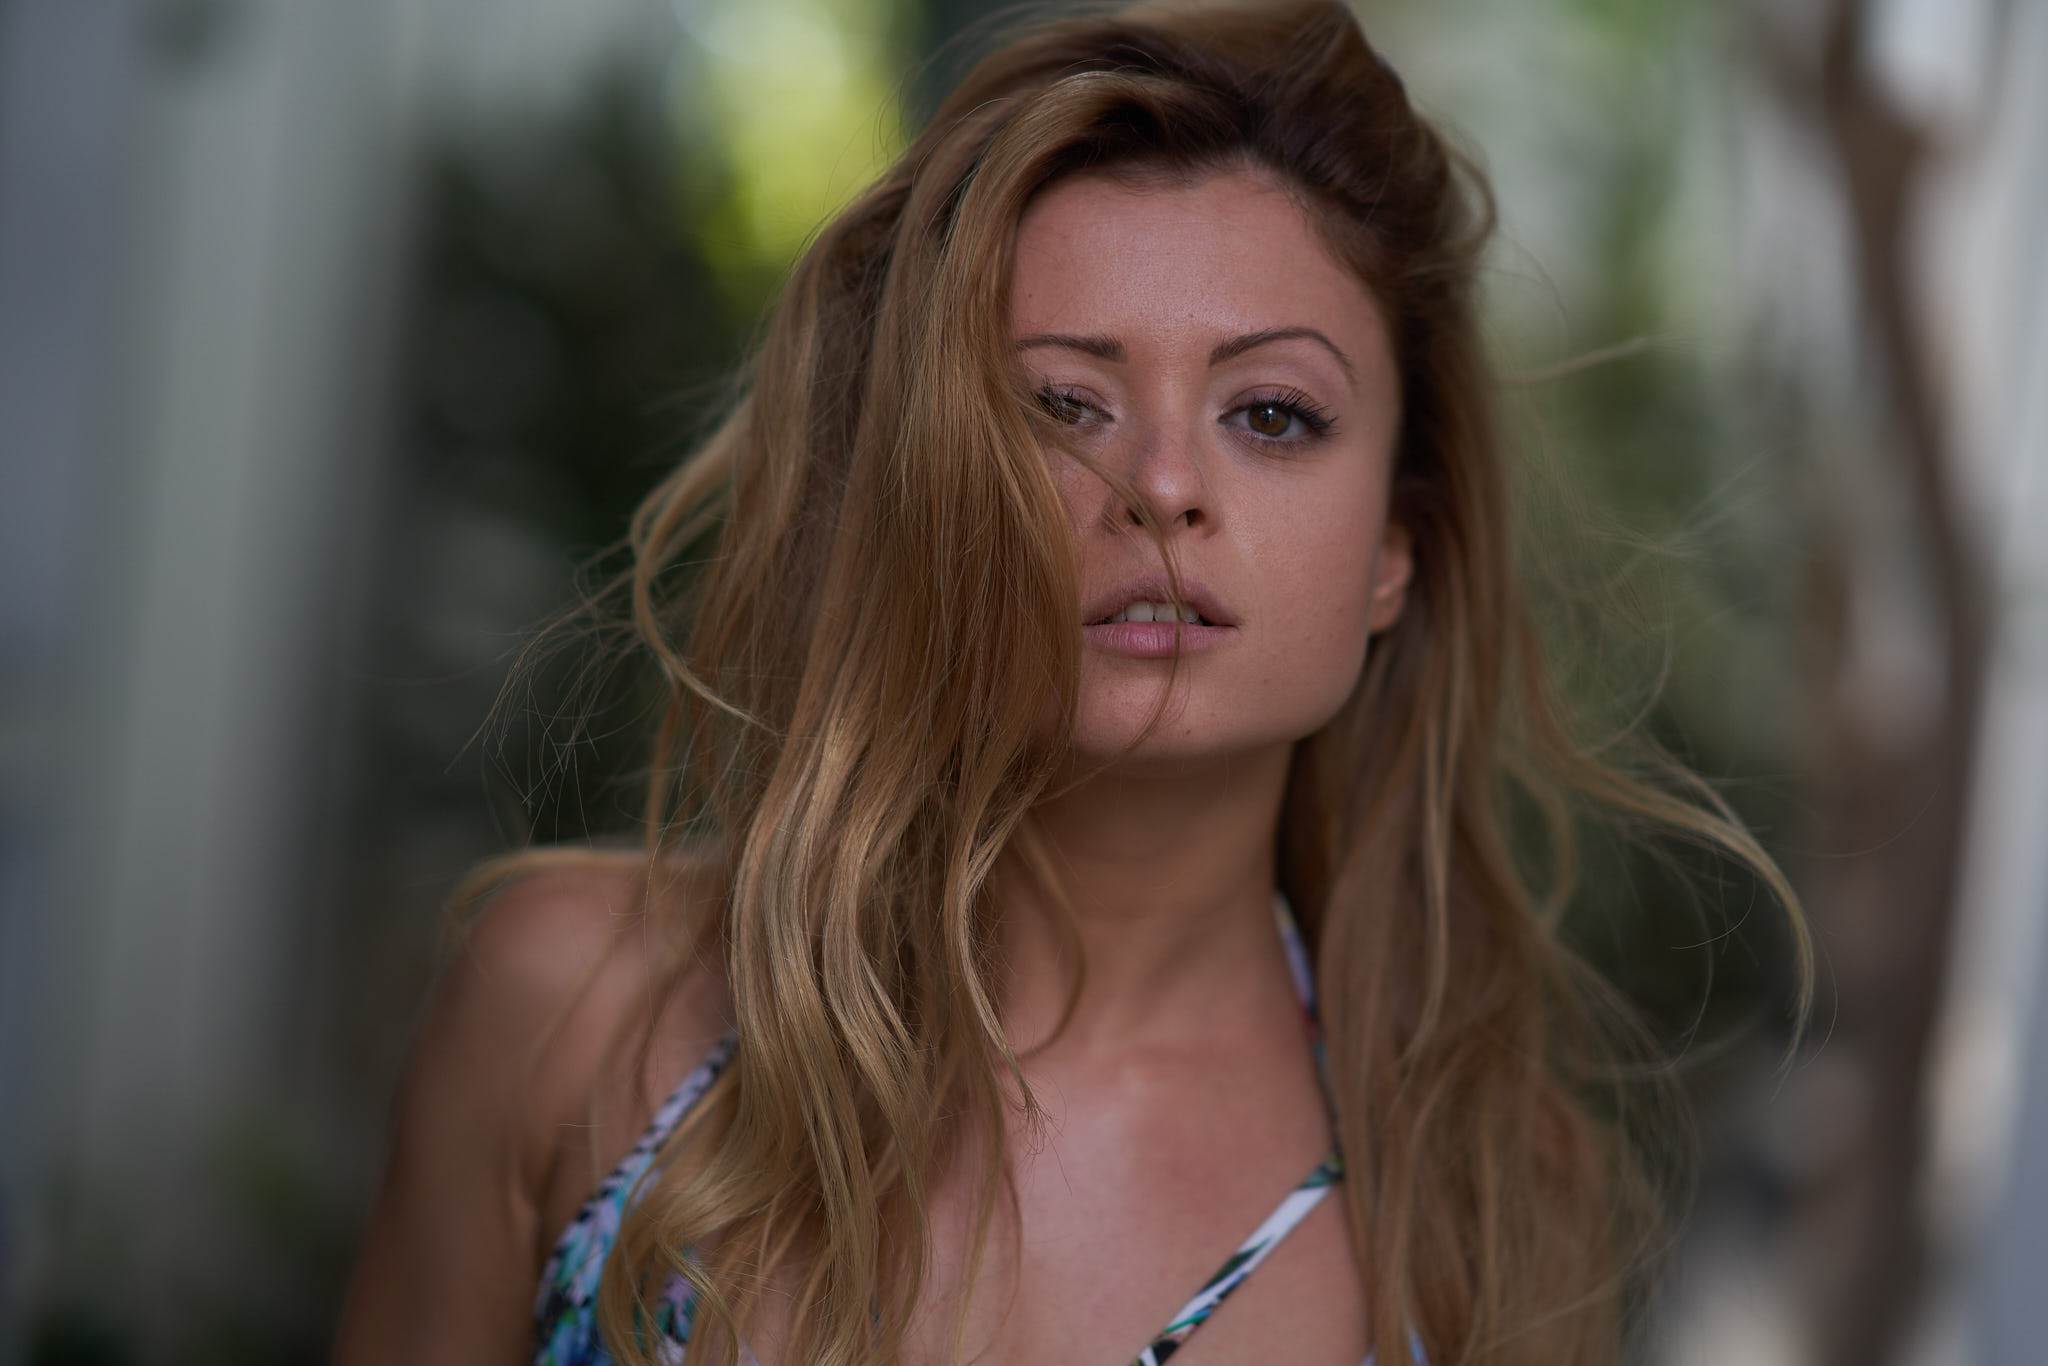
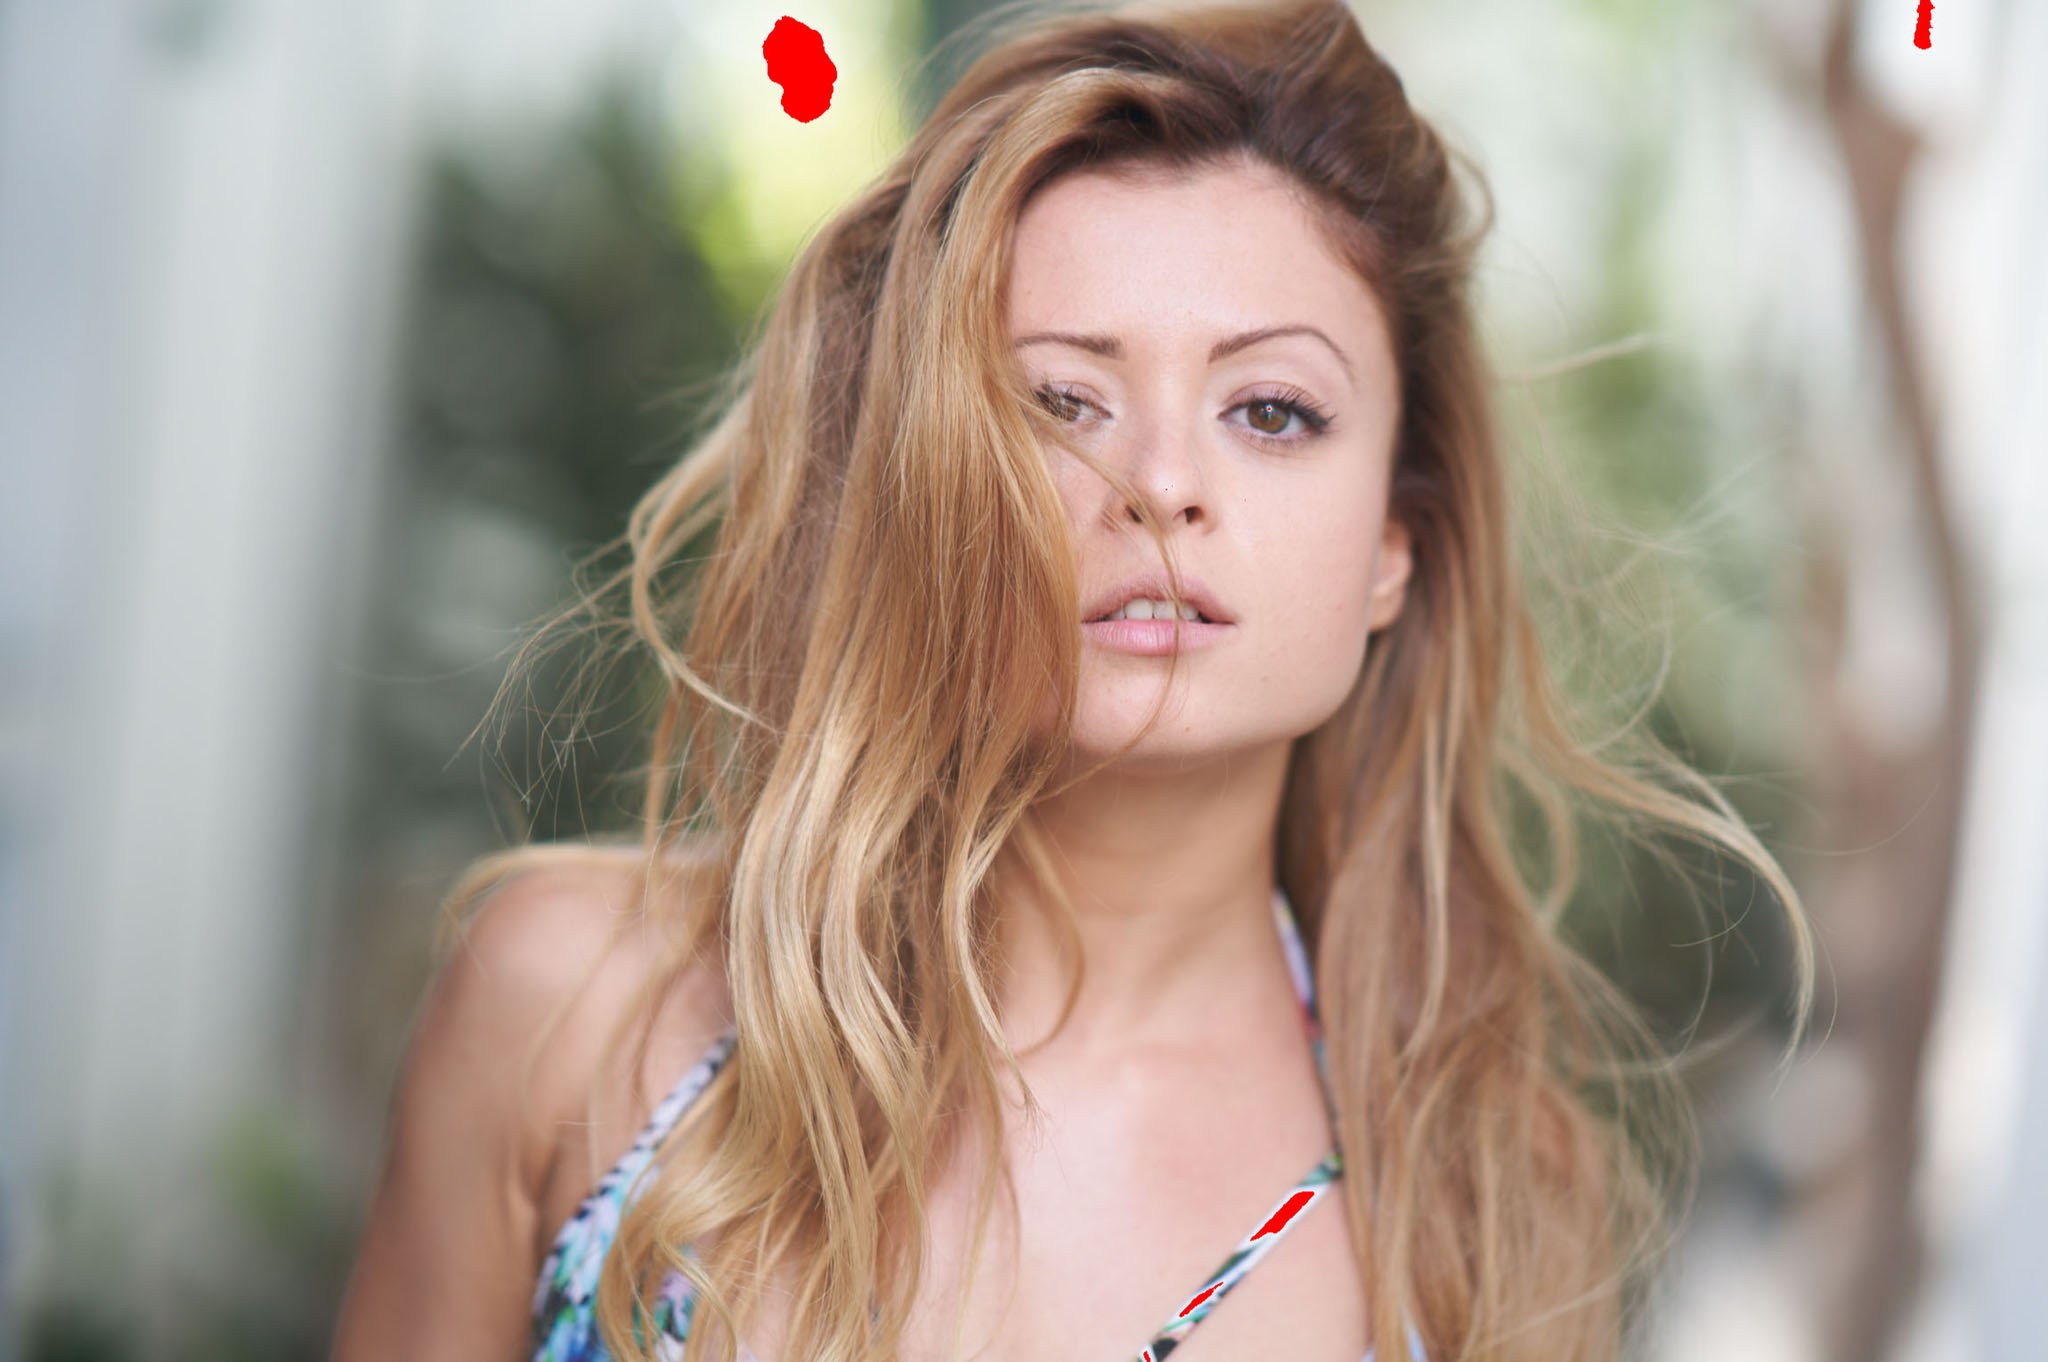
And this photo of Jessica is the example I used for a lower contrast image.
Now, the first image is Straight Out Of Camera and the second one is me pushing the exposure up just to prove my point: the background is brighter than Jessica’s skin, and thats why I decided to have a low contrast image.
So Nacho messaged me next day saying he followed my advice, getting more light on the model than on the background. But he added some vignetting to the image which took away all the detail on her hand. And it also looks like Nacho tried to bring her face back in post, which also removed any facial structure and texture.
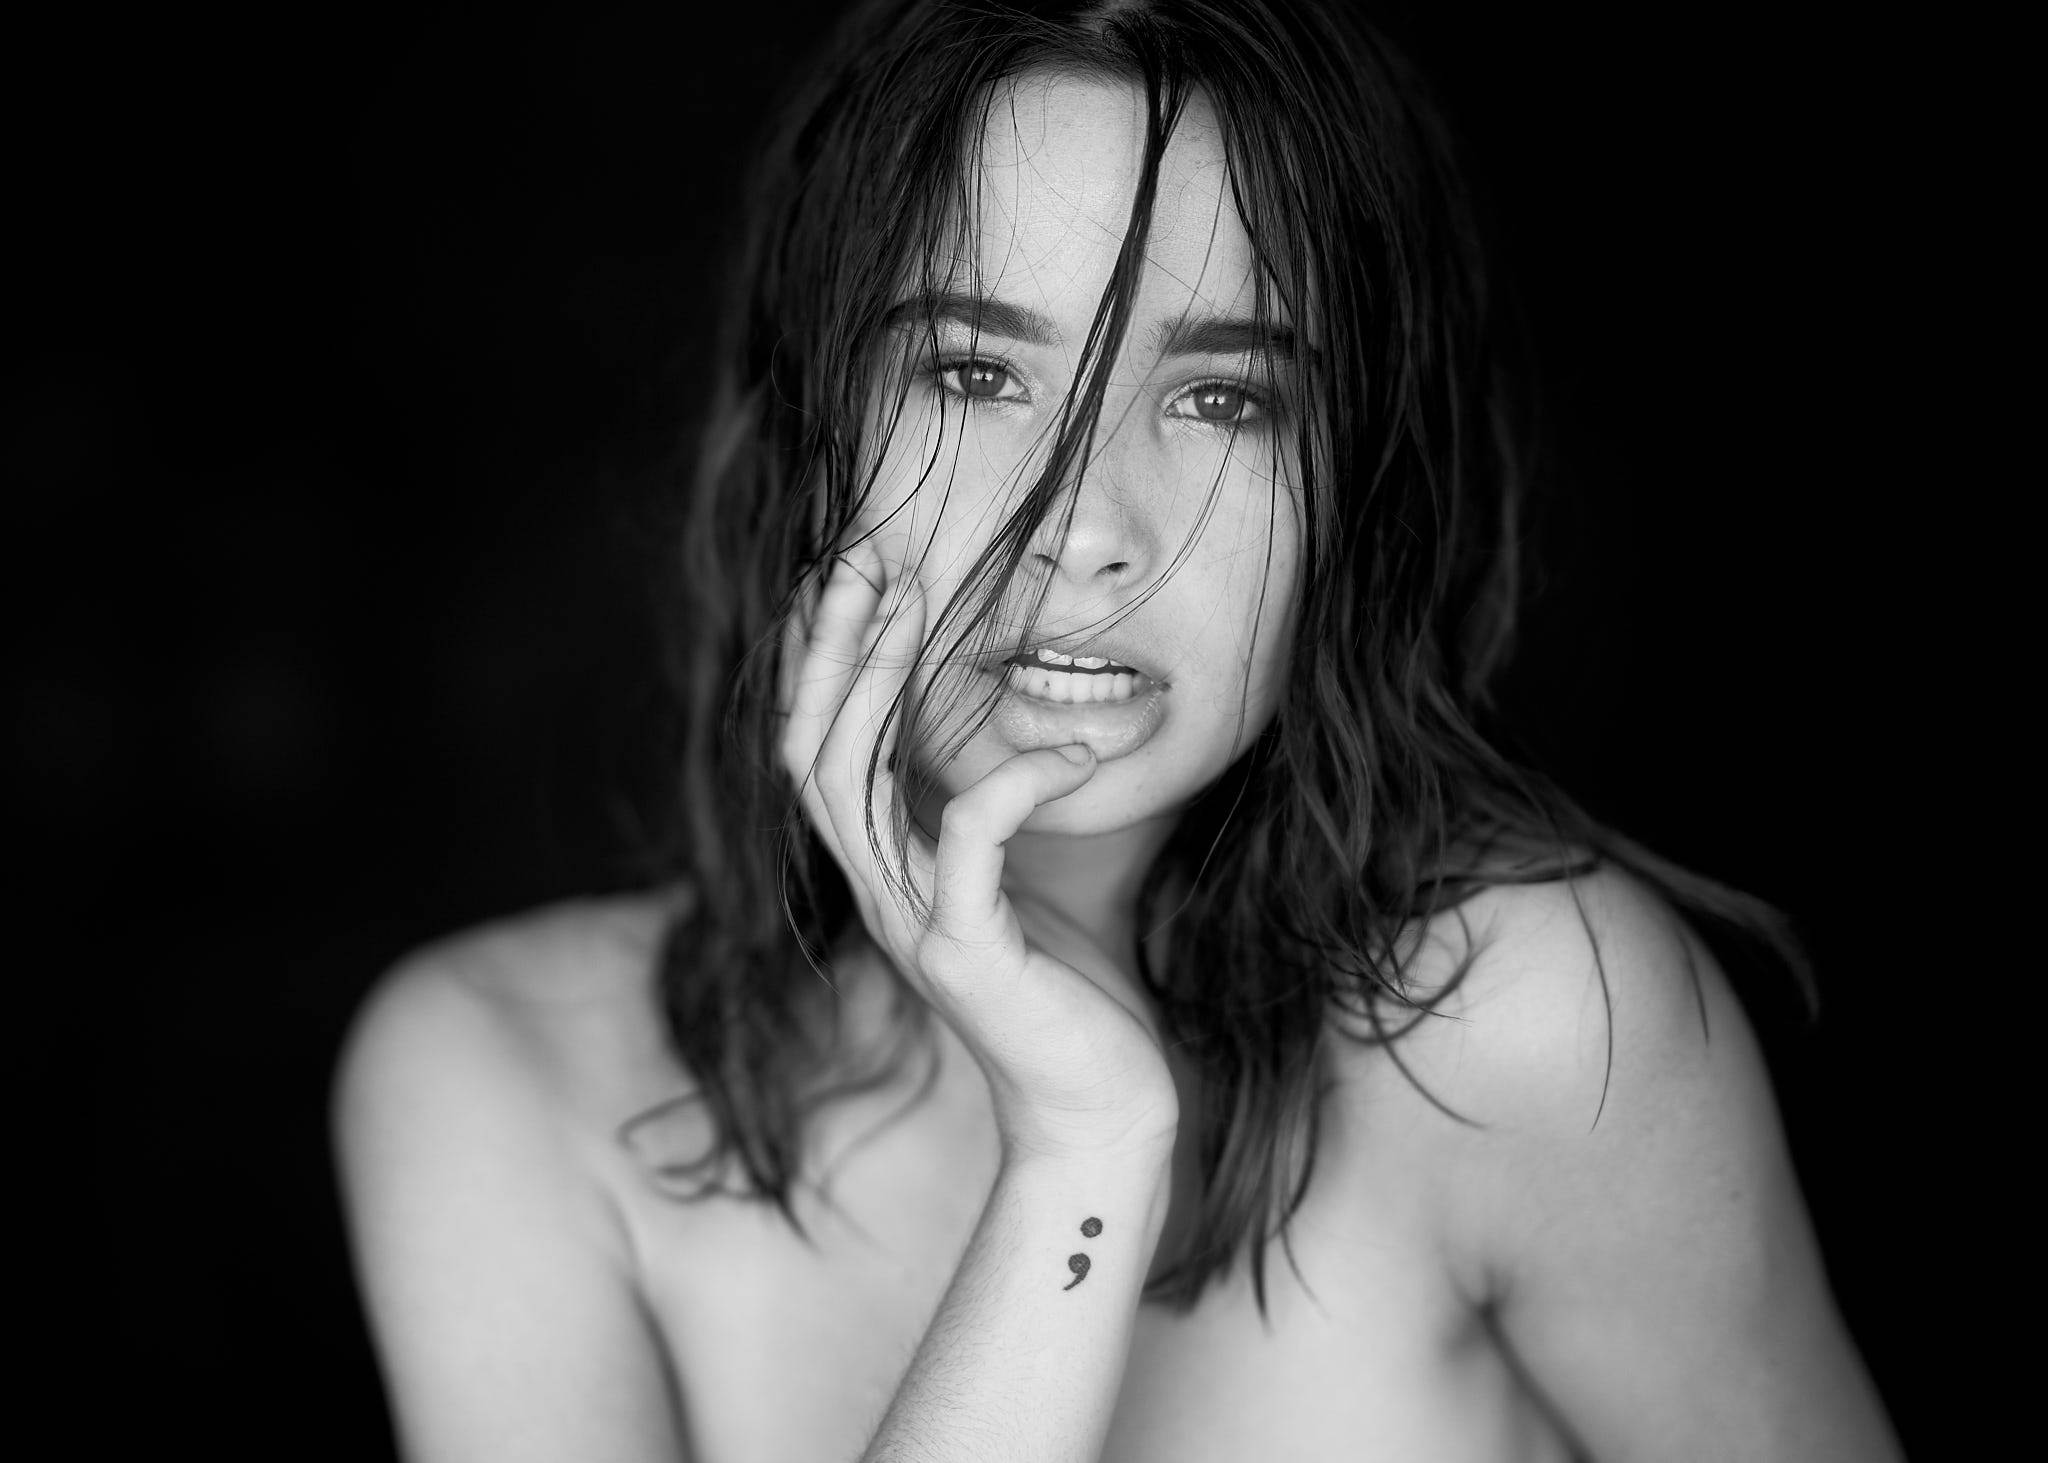
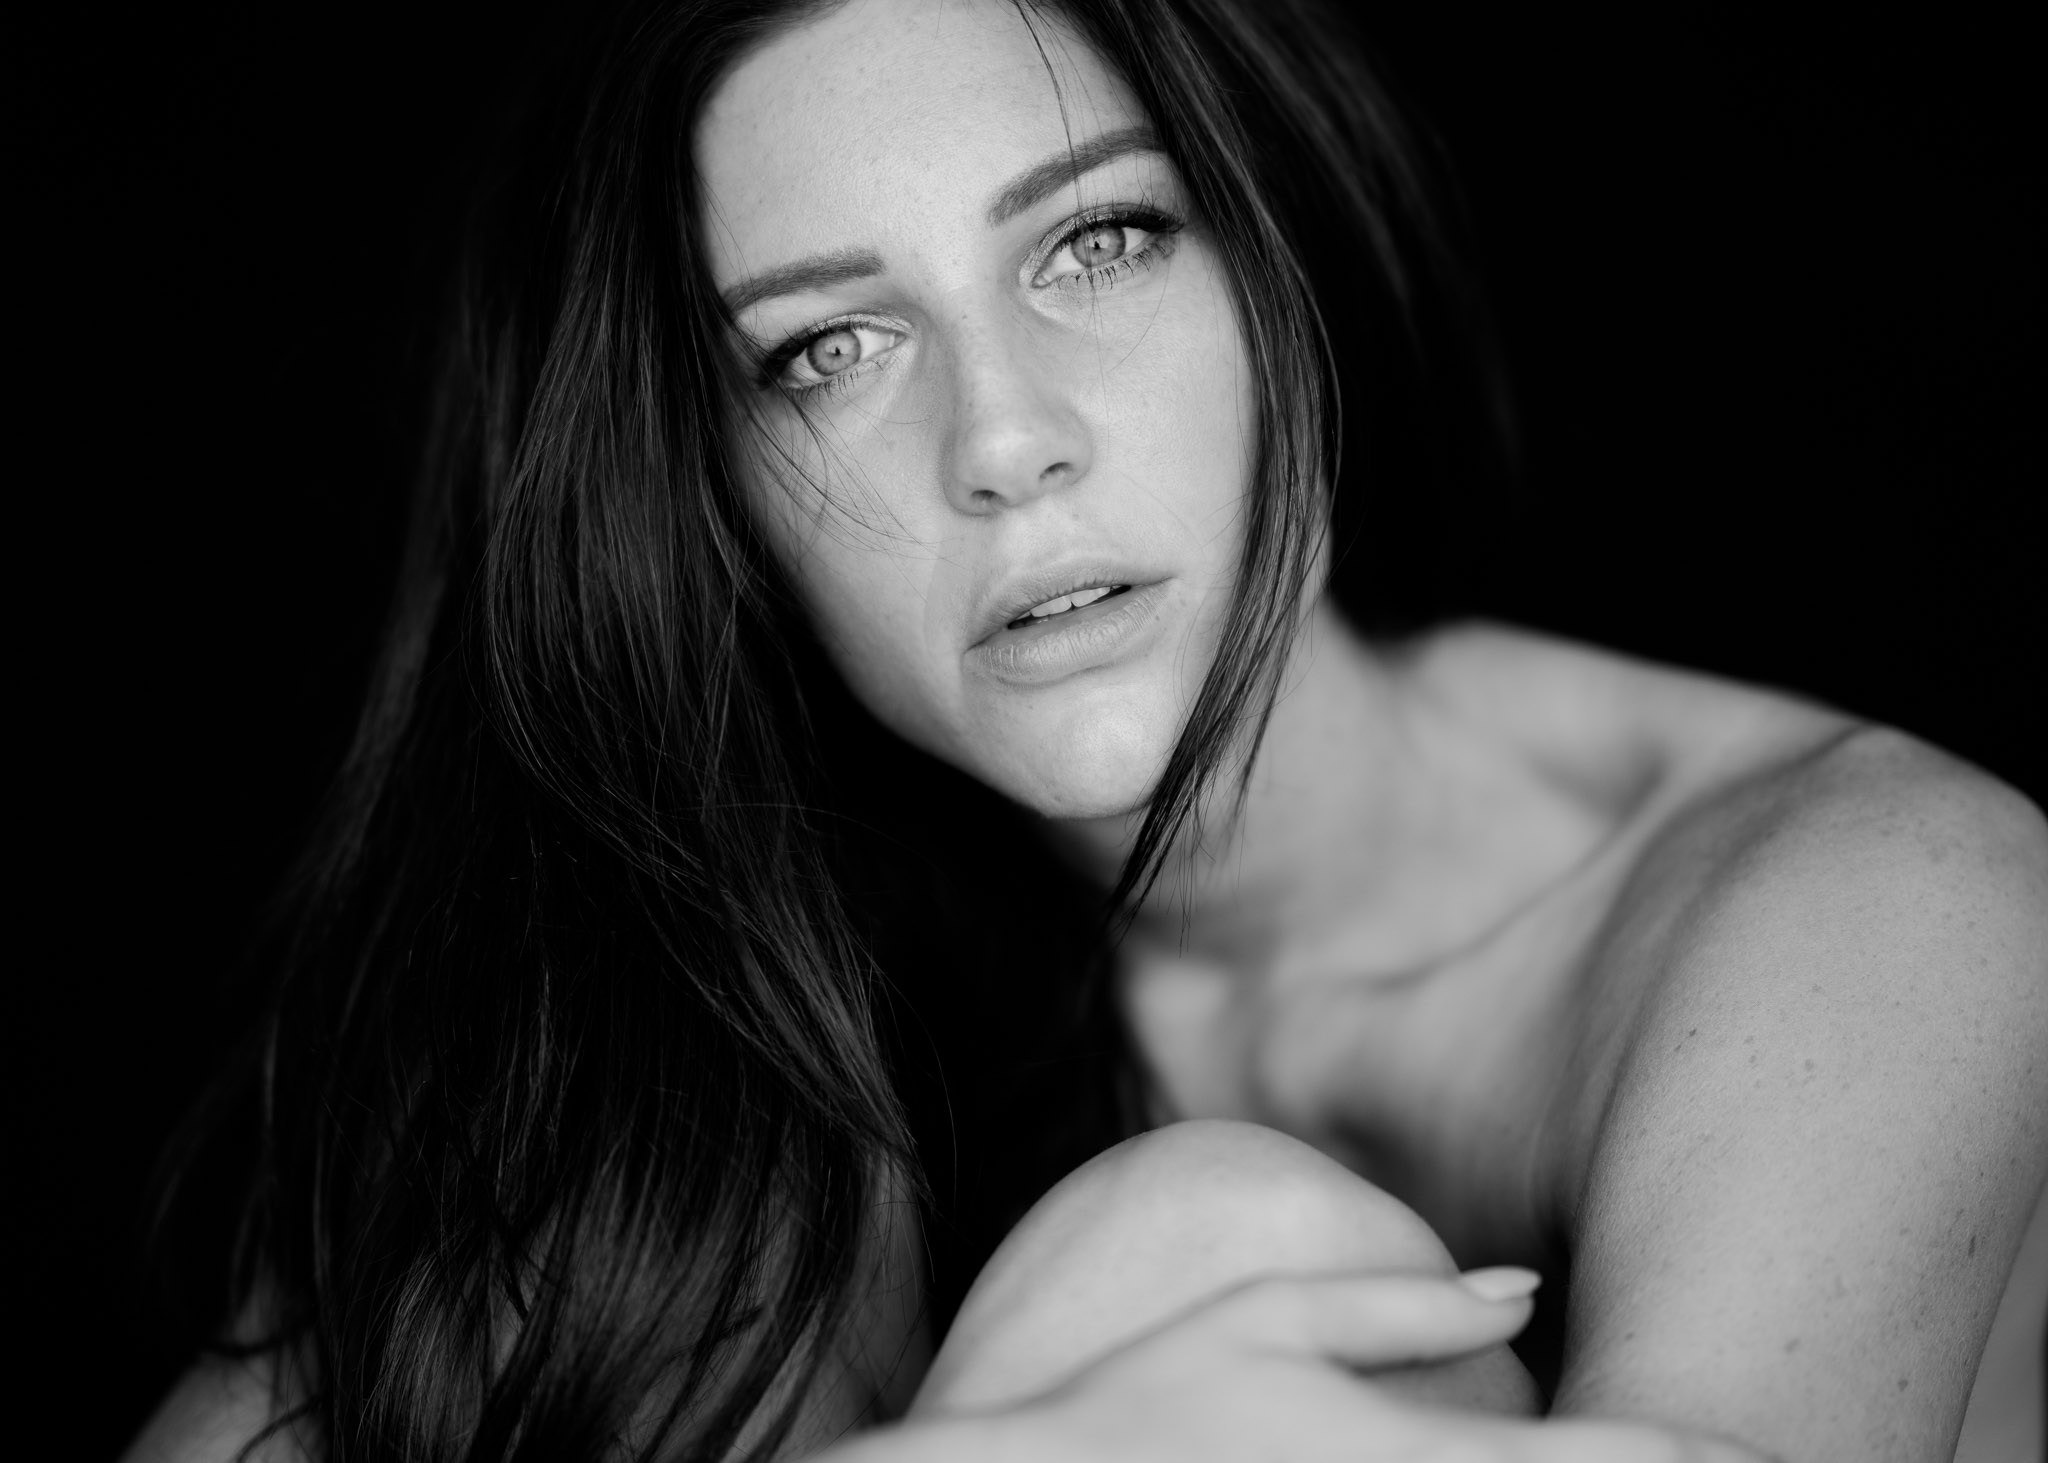
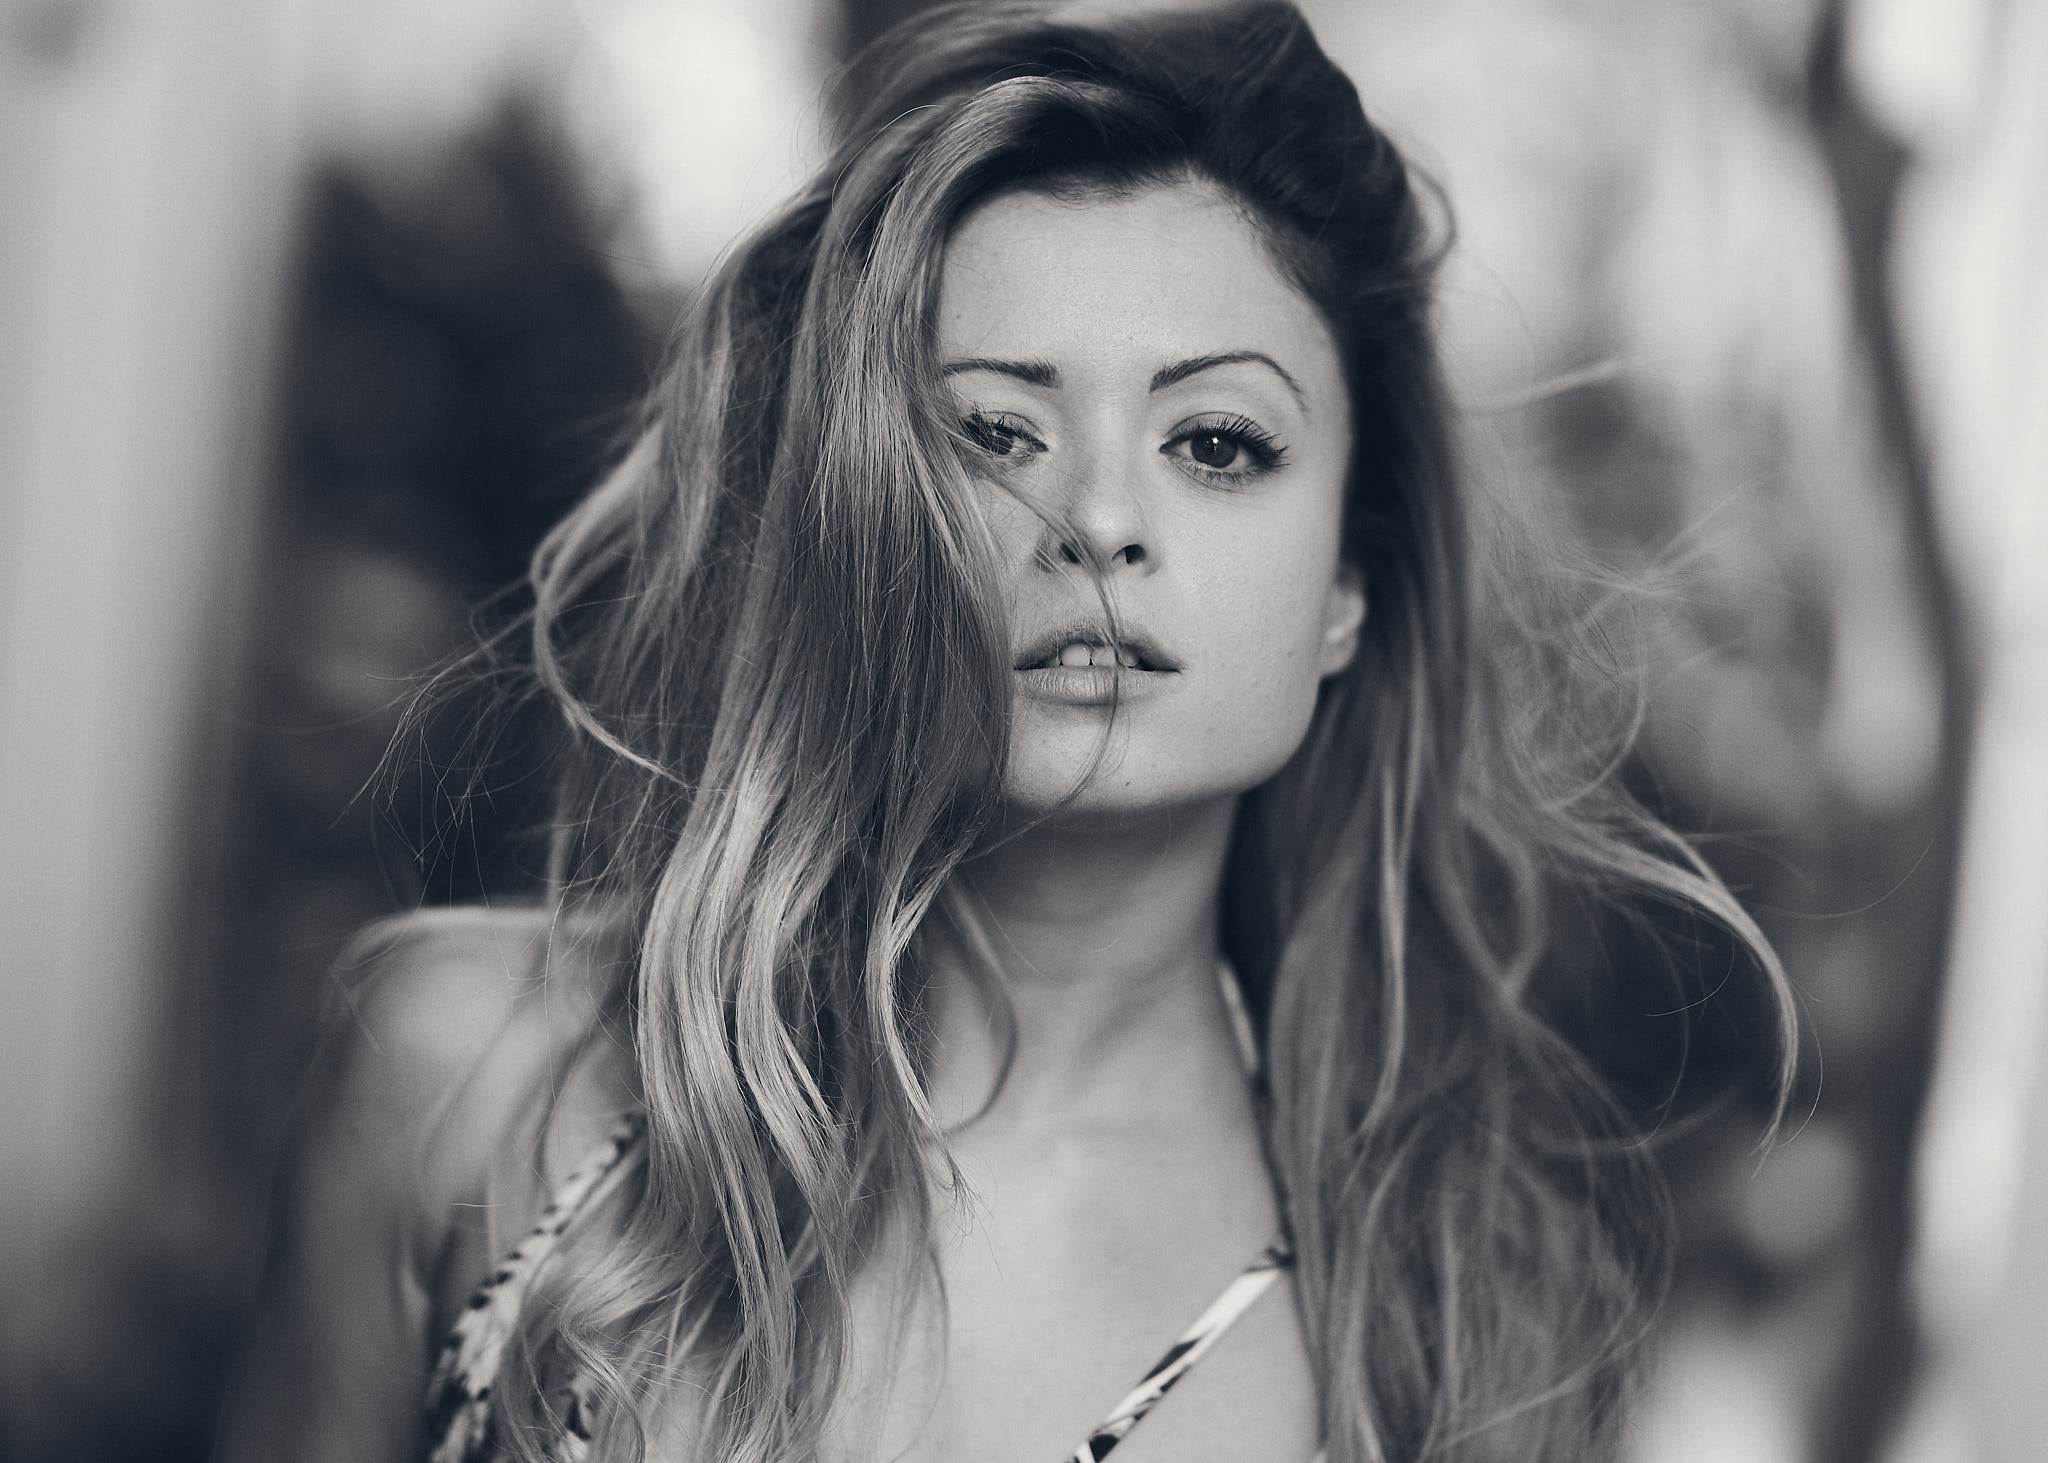
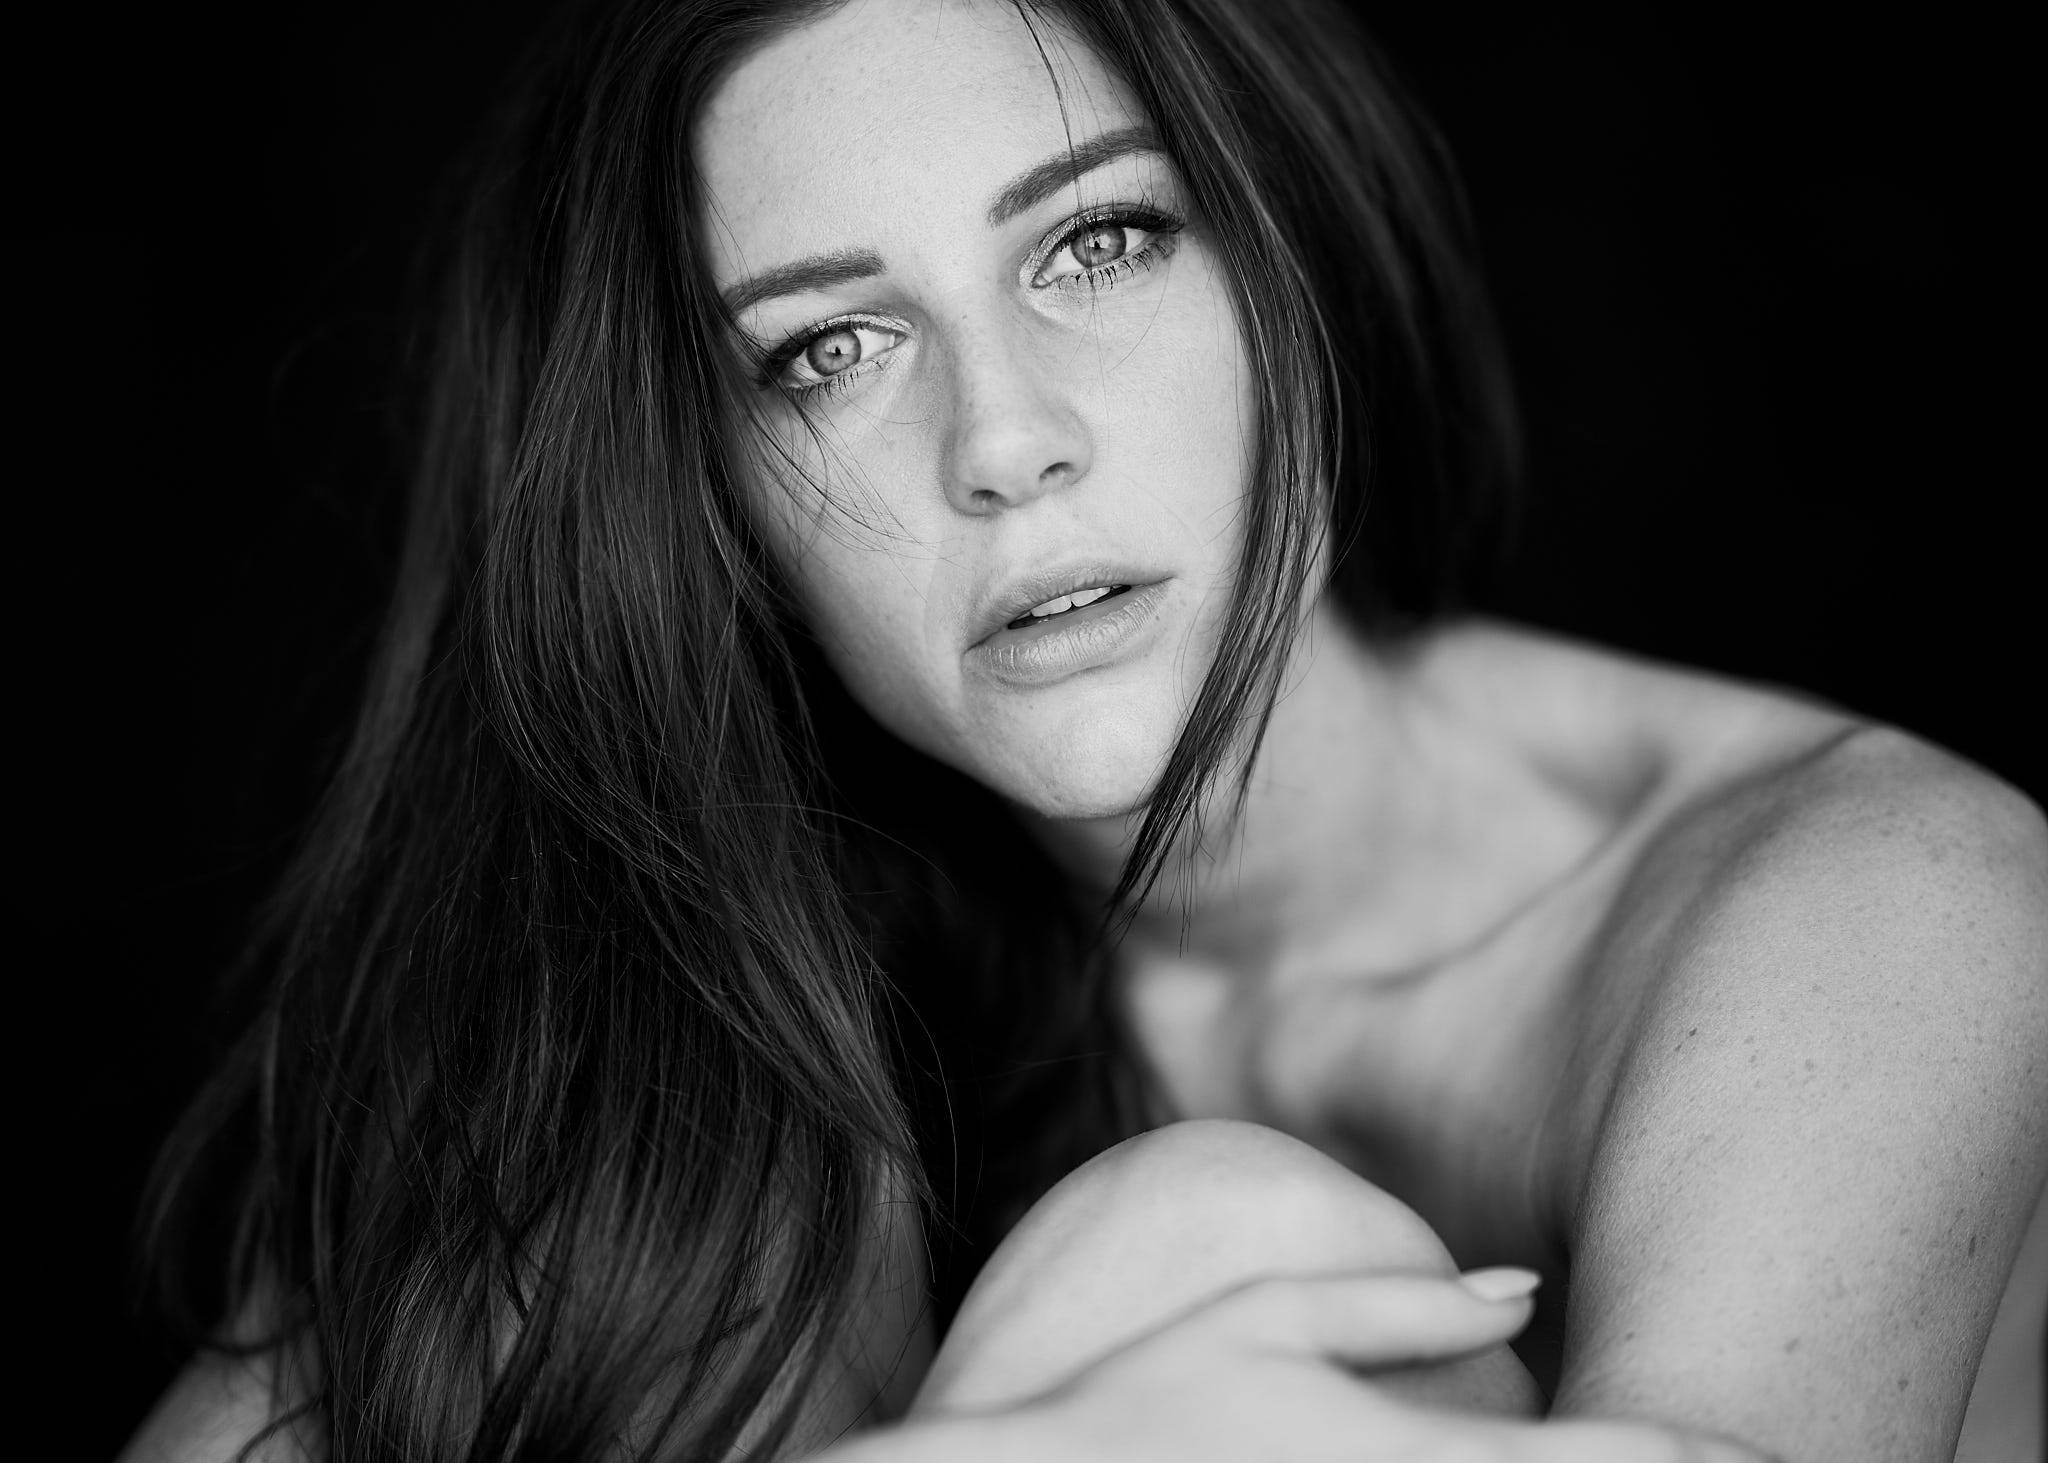
After reading his message, I sent him a photo of Bella that I had just shot. This image was ready as I shot because it was tethered and I all my settings were already there.
Shot with the Sony A7R III + Sony 85mm f/1.4 GM, ISO 100, 1/160s, f/1.4.
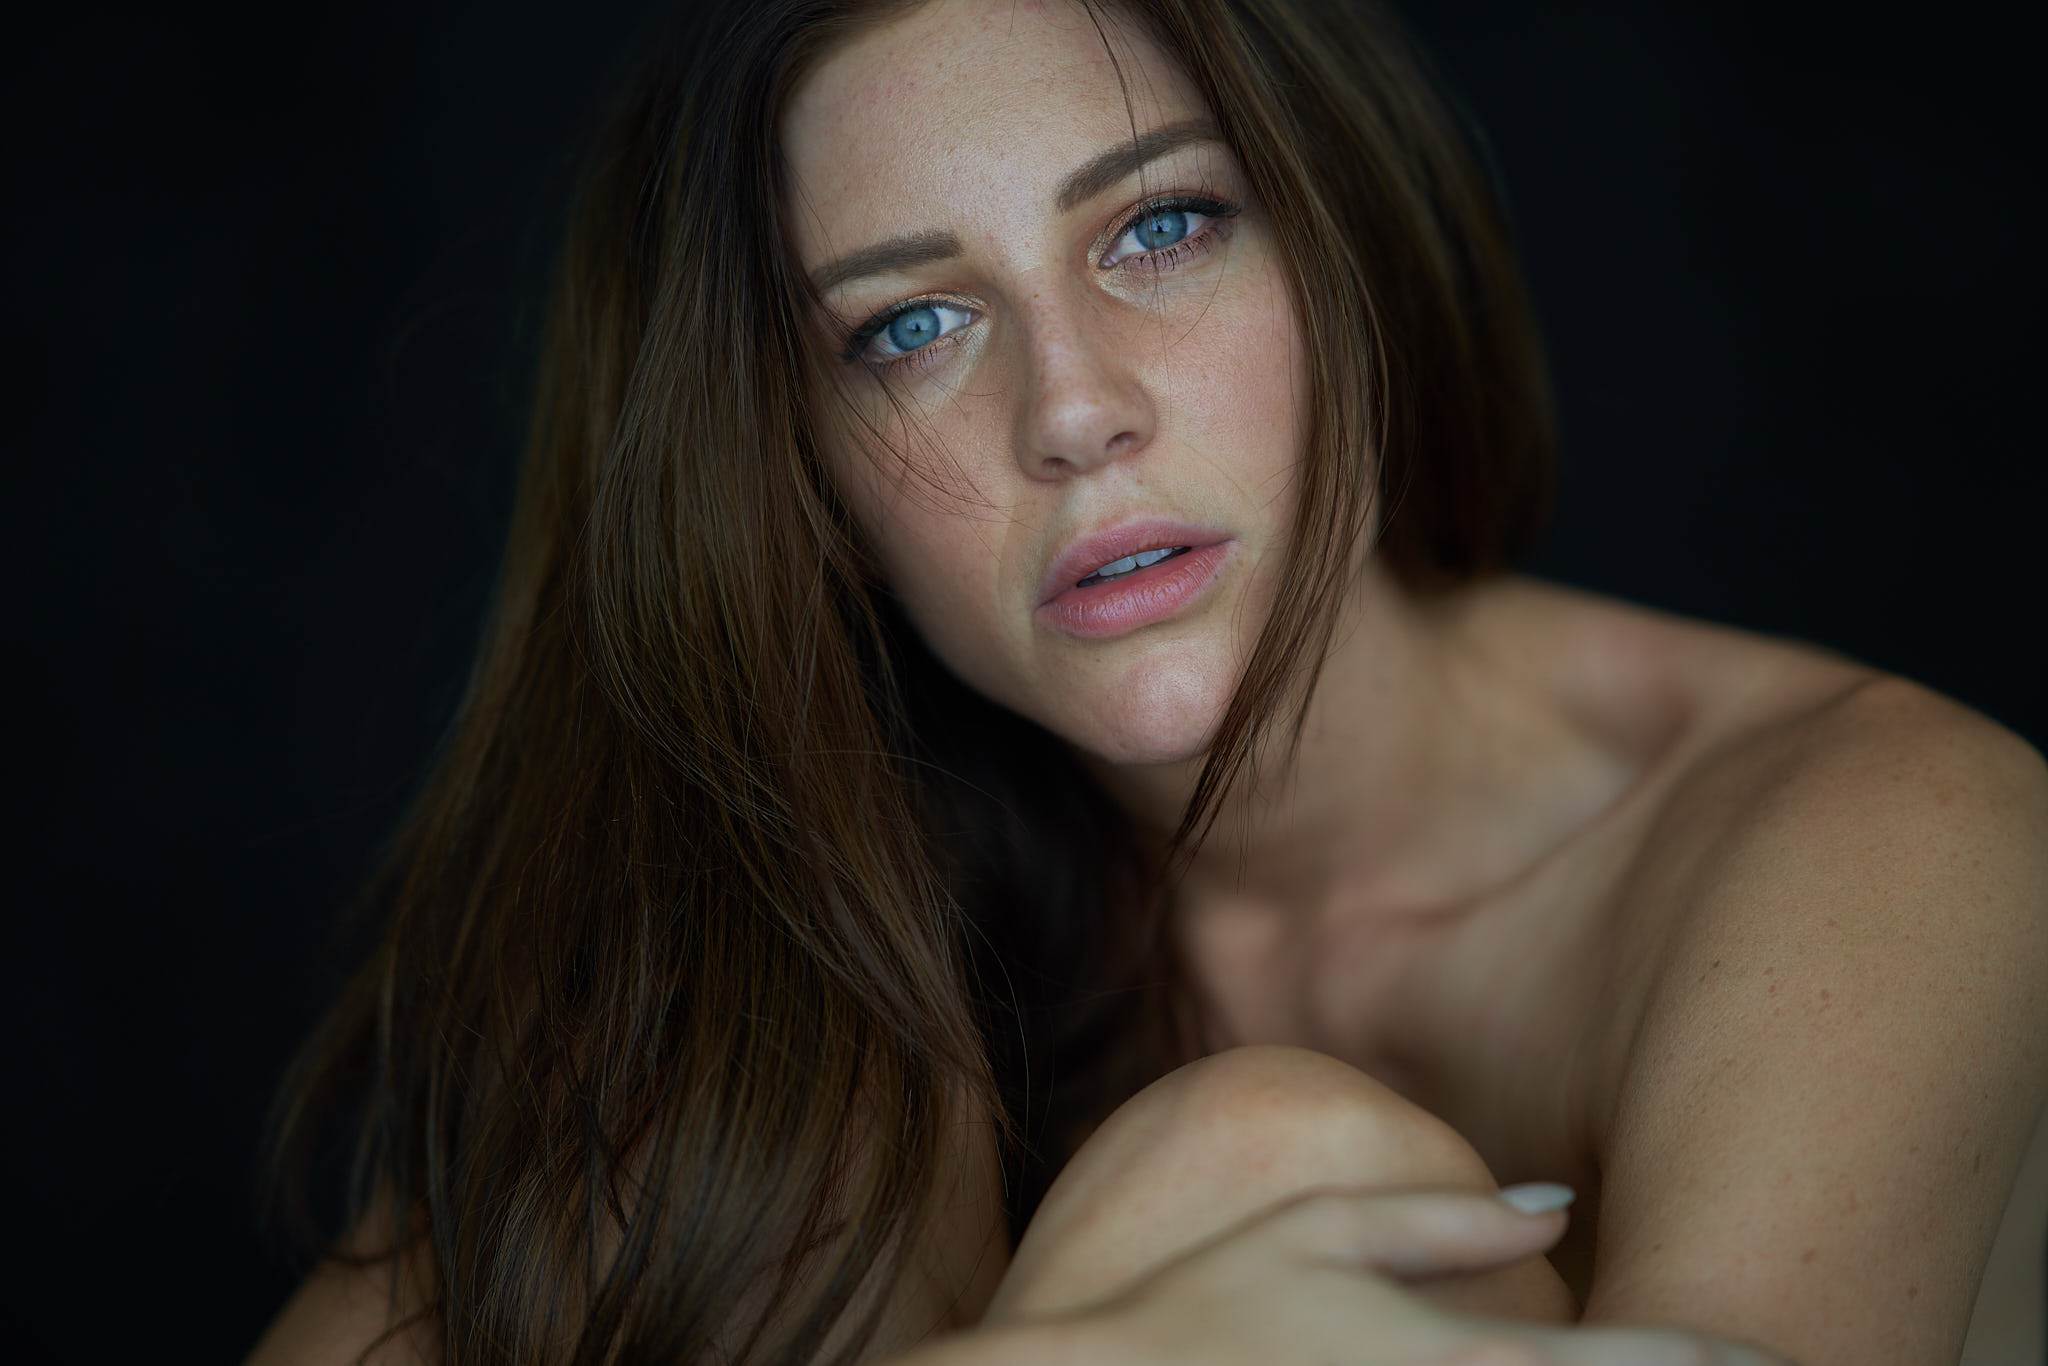
Next you can see my settings on Capture One Pro 11 and the Straight Out Of Camera image, which I don’t really get to see as Capture One Pro is already showing me the final image as I shoot.
Please note that because I shoot with a Sony mirrorless camera, even though I’m shooting tethered I also change my picture style to Black & White, because having a setting called “Live View Effects” turned on, I will see in B&W through my viewfinder.
A little note to pixel peepers: yes Bella’s eyes are slightly out of focus, but this is my favourite photo of the whole shoot and only YOU care about that. Nacho’s first image is very out of focus and I didn’t even notice that until I started writing this article, because I don’t care if the eyes are not tack sharp, unless my clients do.
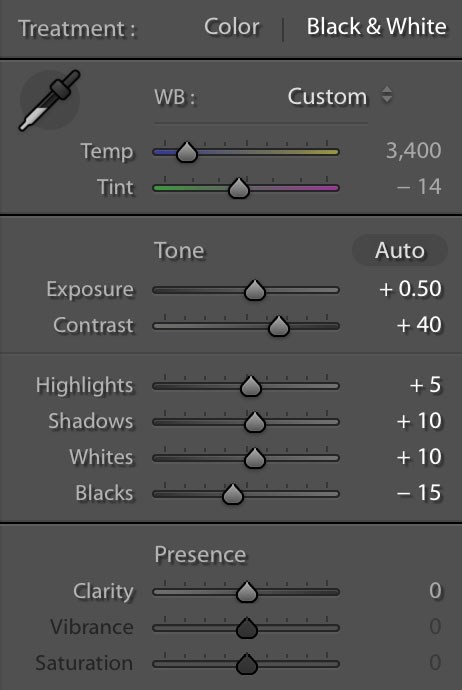
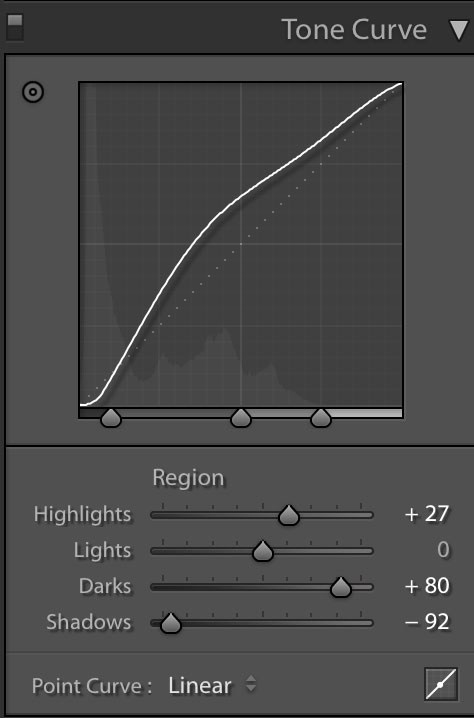
With that out of the way, I tried to achieve the same look in Adobe Lightroom just in case you don’t have Capture One Pro. It’s not the same, but I got close.
After talking to Nacho a bit more I told him what gear I use and he said he shot those with a 50mm f/1.8 lens. He doesn’t need to buy the 85mm f/1.4 to get that look, the nifty fifty will do it. I shoot with the 85mm 95% of the time because it’s my focal length of choice.
So now I’m waiting for Nacho to try again and see what he comes up with.
Please check back here to see how he’s doing, I hope I can help him get to where he wants to be!!!


